v2.0
v1.0
  1. Release Notes
    1. Release Notes - 2.0.2Latest
    1. Release Notes - 2.0.1
    1. Release Notes - 2.0.0
  1. Introduction
    1. Introduction
    1. Features
    1. Architecture
    1. Advantages
    1. Glossary
  1. Installation
    1. Intruction
      1. Intro
      2. Port Requirements
    1. Install on Linux
      1. All-in-One Installation
      2. Multi-Node Installation
      3. Installing HA Master and Etcd Cluster
      4. Storage Configuration Instruction
    1. Install on Kubernetes
      1. Prerequisites
      2. Online Installation
      3. Offline Installation
    1. Related Tools
      1. Integrating Harbor Registry
    1. Cluster Operation
      1. Adding New Nodes
      2. High Risk Operation
      3. Uninstalling KubeSphere
  1. Quick Start
    1. Getting Started with Multitenancy
    1. Exposing your APP using Ingress
    1. Deploying a MySQL Application
    1. Deploying a Wordpress Website
    1. Job to compute π to 2000 places
    1. Deploying Grafana using APP Template
    1. Creating Horizontal Pod Autoscaler
    1. S2i: Publish your app without Dockerfile
    1. Canary Release of Microservice APP
    1. CI/CD based on Spring Boot Project
    1. Building a Pipeline in a Graphical Panel
    1. CI/CD based on GitLab and Harbor
    1. Ingress-Nginx for Grayscale Release
  1. Cluster Admin Guide
    1. Multi-tenant Management
      1. Overview of Multi-tenant Management
      2. Overview of Role Management
    1. Platform Management
      1. Account Management
      2. Platform Roles Management
    1. Infrastructure
      1. Service Components
      2. Nodes
      3. Storage Classes
    1. Monitoring Center
      1. Physical Resources
      2. Application Resources
    1. Application Repository
    1. Jenkins System Settings
  1. User Guide
    1. Application Template
    1. Workloads
      1. Deployments
      2. StatefulSets
      3. DaemonSets
      4. Jobs
      5. CronJobs
    1. Storage
      1. Volumes
    1. Network & Services
      1. Services
      2. Routes
    1. Configuration Center
      1. Secret
      2. ConfigMap
      3. Image Registry
    1. Project Settings
      1. Basic Information
      2. Member Roles
      3. Project Members
      4. Internet Access
    1. DevOps Project
      1. DevOps Project Management
      2. DevOps Project Management
      3. DevOps Project Management
      4. DevOps Project Management
      5. DevOps Project Management
  1. Development Guide
    1. Preparing the Development Environment
    1. Development Workflow
  1. API Documentation
    1. API Guide
    1. How to invoke KubeSphere API
KubeSphere®️ 2020 All Rights Reserved.

ConfigMap

ConfigMaps allow you to decouple configuration artifacts from image content to keep containerized applications portable. This page demonstrates how to create ConfigMaps and configure Pods using data stored in ConfigMaps.

Create a ConfigMap

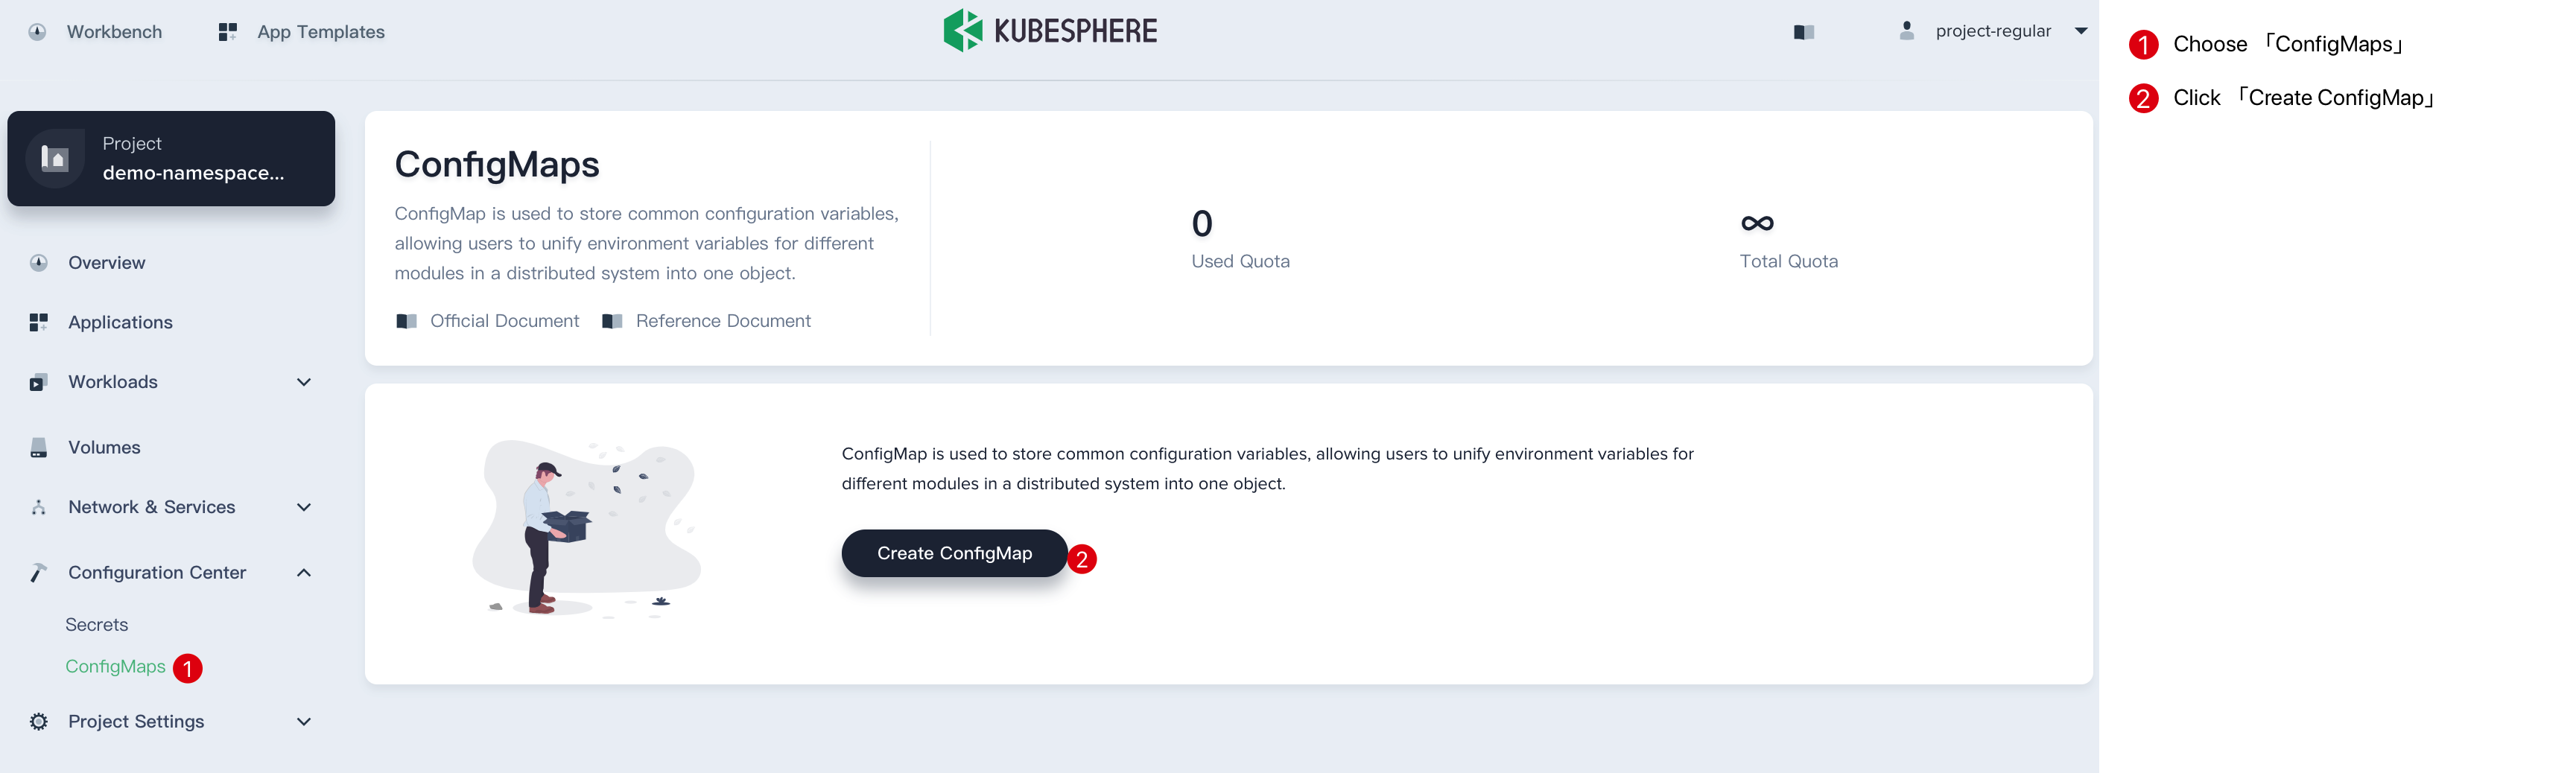
Sign in with project-regular, enter into one project (e.g. demo-namespace), then select Configuration Center → ConfigMaps.

Create a ConfigMap

Step 1: Fill in the Basic Information

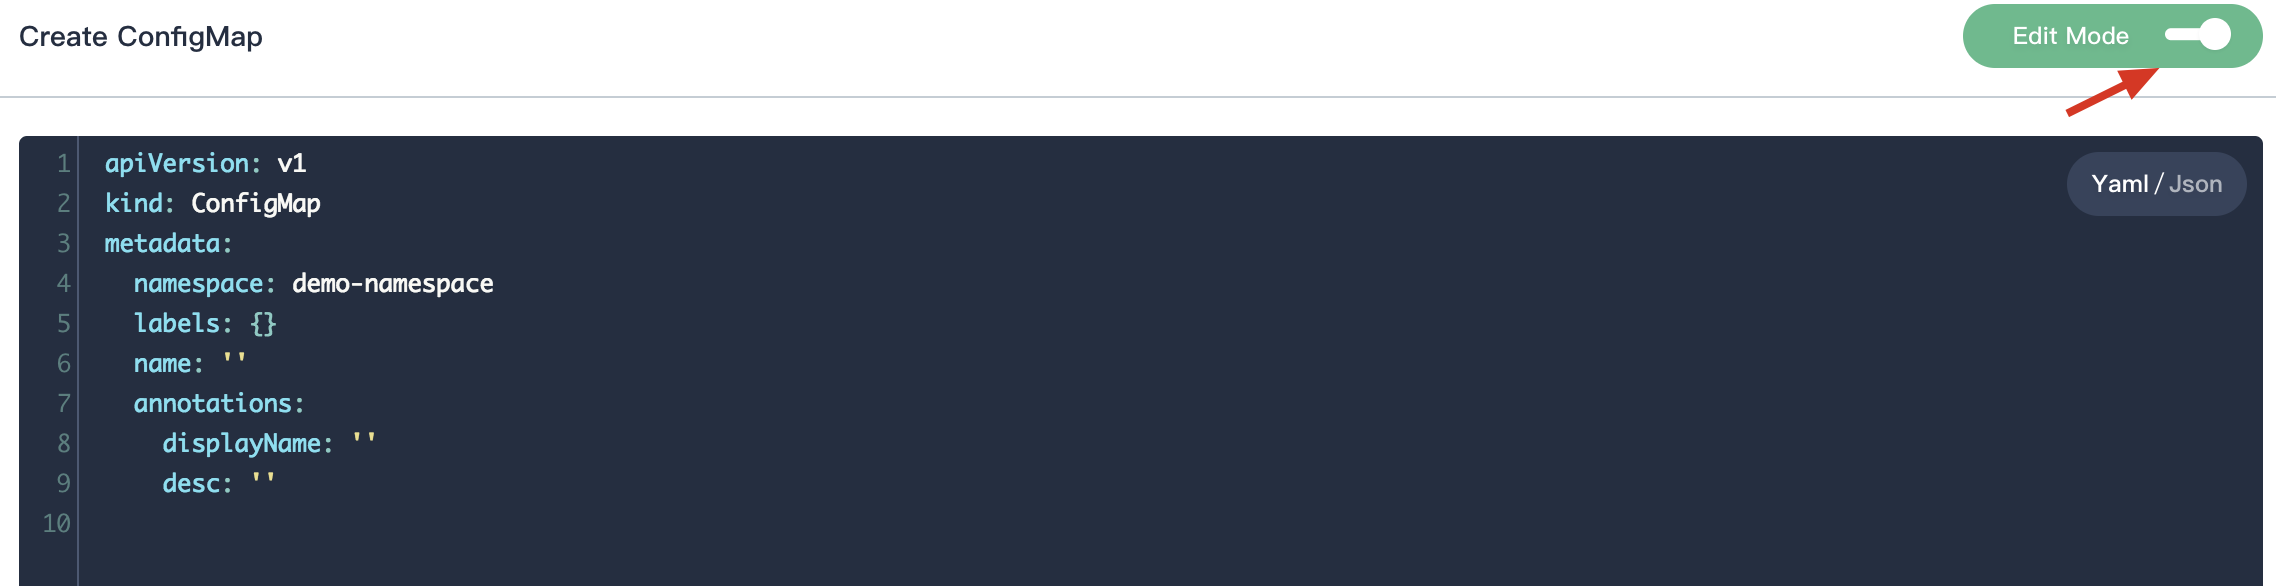
1.1. Click Create ConfigMap button, then fill in the basic information in the pop-up window. There are two ways to create a ConfigMap, i.e. fill in the creation table and edit mode. The following mainly introduces each step within creation table. If you prefer edit mode, you can click on the edit mode button, it supports the yaml and json formats. Edit mode makes it easy for users who are used to command operations.

Edit Mode

1.2. On the basic information page, enter the name of the ConfigMap, you can also fill in the description as required.

  • Name: A concise and clear name for this ConfigMap, which is convenient for users to browse and search.
  • Alias: Helps you better distinguish resources and supports Chinese.
  • Description: A brief introduction to ConfigMap.

Click Next when you're done.

Basic Information

Step 2: ConfigMap Settings

The key-value pairs data could be stored in ConfigMaps, which is used to set as container environment variables, or add the ConfigMap data to a volume, it could be used in workloads. The data as following example:

data:
  game.properties: 158 bytes
  ui.properties: 86 bytes

ConfigMap Settings

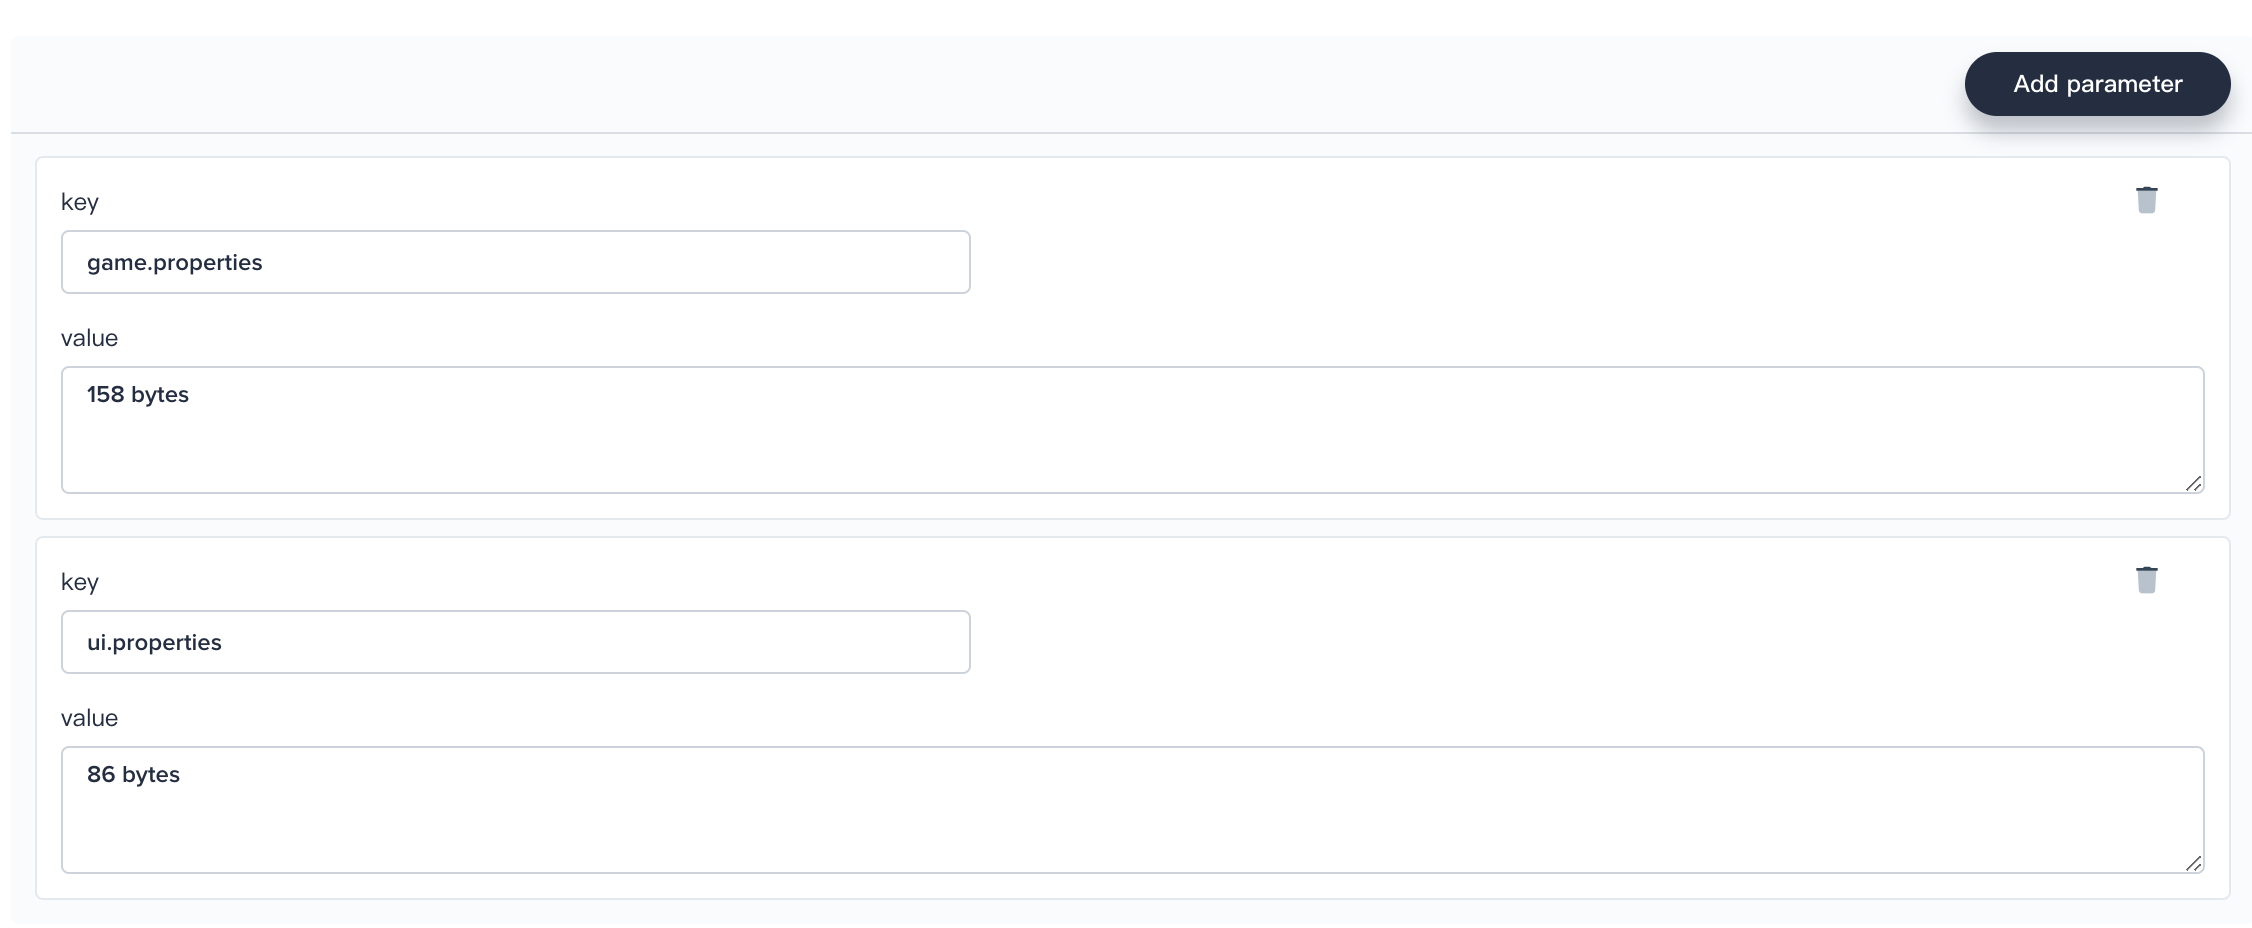
Using this ConfigMap

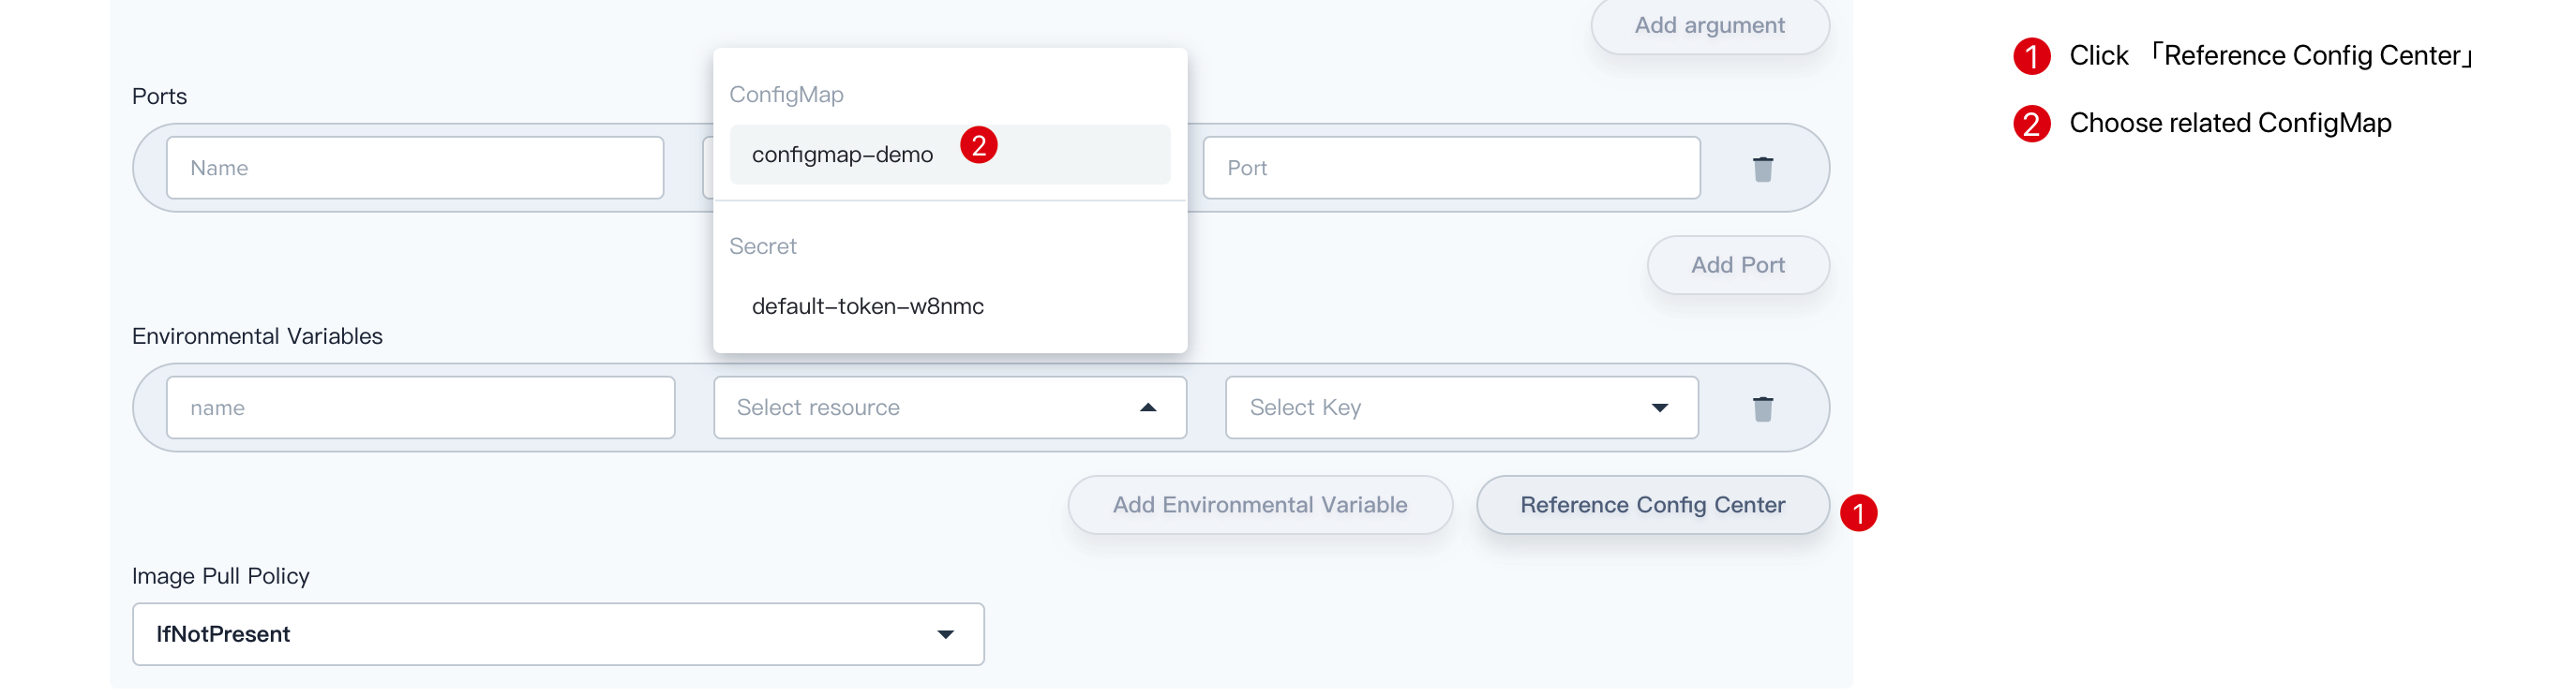
ConfigMaps can be mounted as data volumes or be exposed as environment variables to be used by a container in a pod.

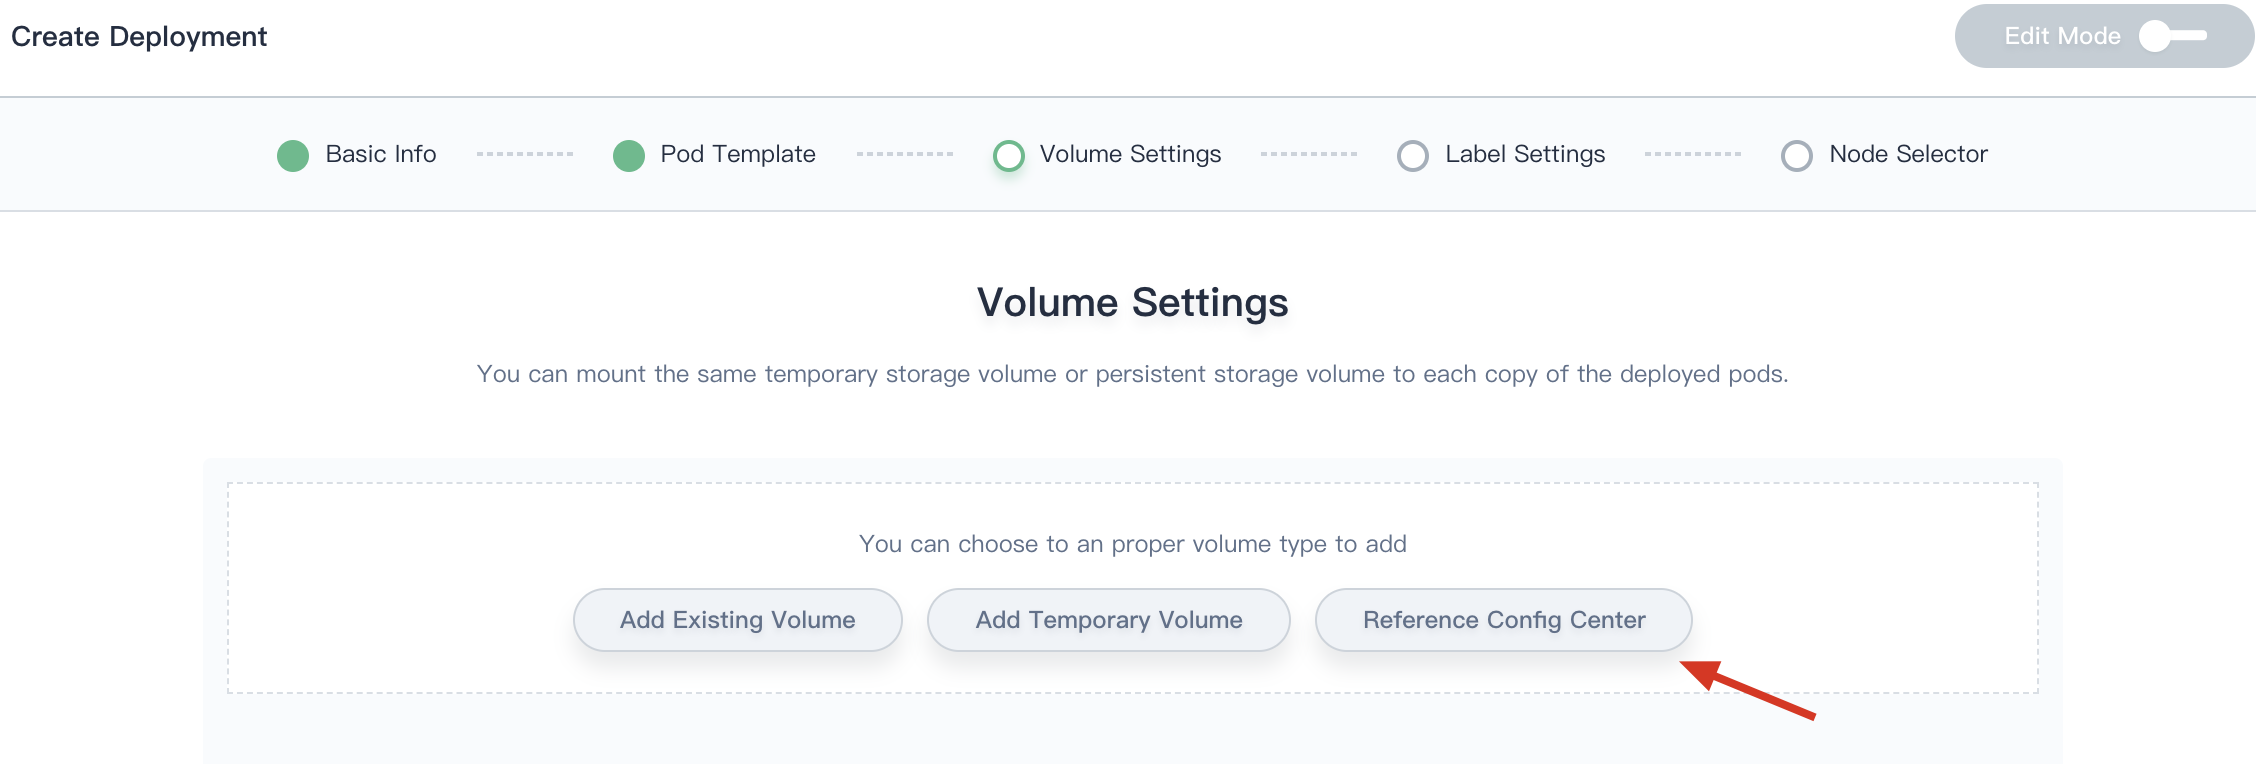
  • In Volume, click on Reference Config Center, then select the created ConfigMap.
  • In the Environment Variables, click Reference Config Center then select the created key.

Using a ConfigMap

Using a ConfigMap

For more information on how to use the ConfigMap, see Quick-Start - Deploy a WordPress Web Application.