Installation
Intruction
Install on Linux
Install on Kubernetes
Related Tools
Cluster Operation
Quick Start
Cluster Admin Guide
Multi-tenant Management
Platform Management
Infrastructure
Monitoring Center
User Guide
Storage
Configuration Center
Project Settings
Development Guide
API Documentation
Add New Nodes and Cordon Node
After installing KubeSphere, you may encounter insufficient capacity in the formal environment. In this case, it's required to add new nodes and then scale the system horizontally to complete the expansion. It allows cluster operator to expand the cluster according to actual business needs, and it's quite easy to add new nodes in the cluster. Adding new nodes are based on Kubelet's automatic registration mechanism, and the new nodes will automatically join the existing Kubernetes cluster.
Attention
Noted that if the environment is installed with the all-in-one mode, it's not recommended to add new nodes while the storage class is set to Local volume by default. Installer only supports to add new nodes if you launched with multi-node mode installation.
Step 1: Modify the Host Configuration
KubeSphere supports mixed expansion, that is, the newly added host OS can be CentOS or Ubuntu. After applying for a new host, add a line of parameters in the [all] and [kube-node] sections of conf/hosts.ini according to the new host information. If you are going to expand multiple hosts, add more lines of parameter. It's not allowed to modify the host name of the original nodes (e.g. master, node1, and node2) when adding a new node.
The following section shows adding a new node (i.e. node3) using root user as an example configuration.
[all]
master ansible_connection=local  ip=192.168.0.1
node1  ansible_host=192.168.0.2  ip=192.168.0.2  ansible_ssh_pass=PASSWORD
node2  ansible_host=192.168.0.3  ip=192.168.0.3  ansible_ssh_pass=PASSWORD
node3  ansible_host=192.168.0.4  ip=192.168.0.4  ansible_ssh_pass=PASSWORD
···
[kube-node]
master
node1
node2
node3
···
Step 2: Execute the script
Execute the add-nodes.sh script in the "/script" directory.
$ ./add-nodes.shFinally, you will be able to see the new node information on the KubeSphere console after successful return. Select Infrastructure → Nodes from the left menu, or using kubectl get node command can also see the changes.
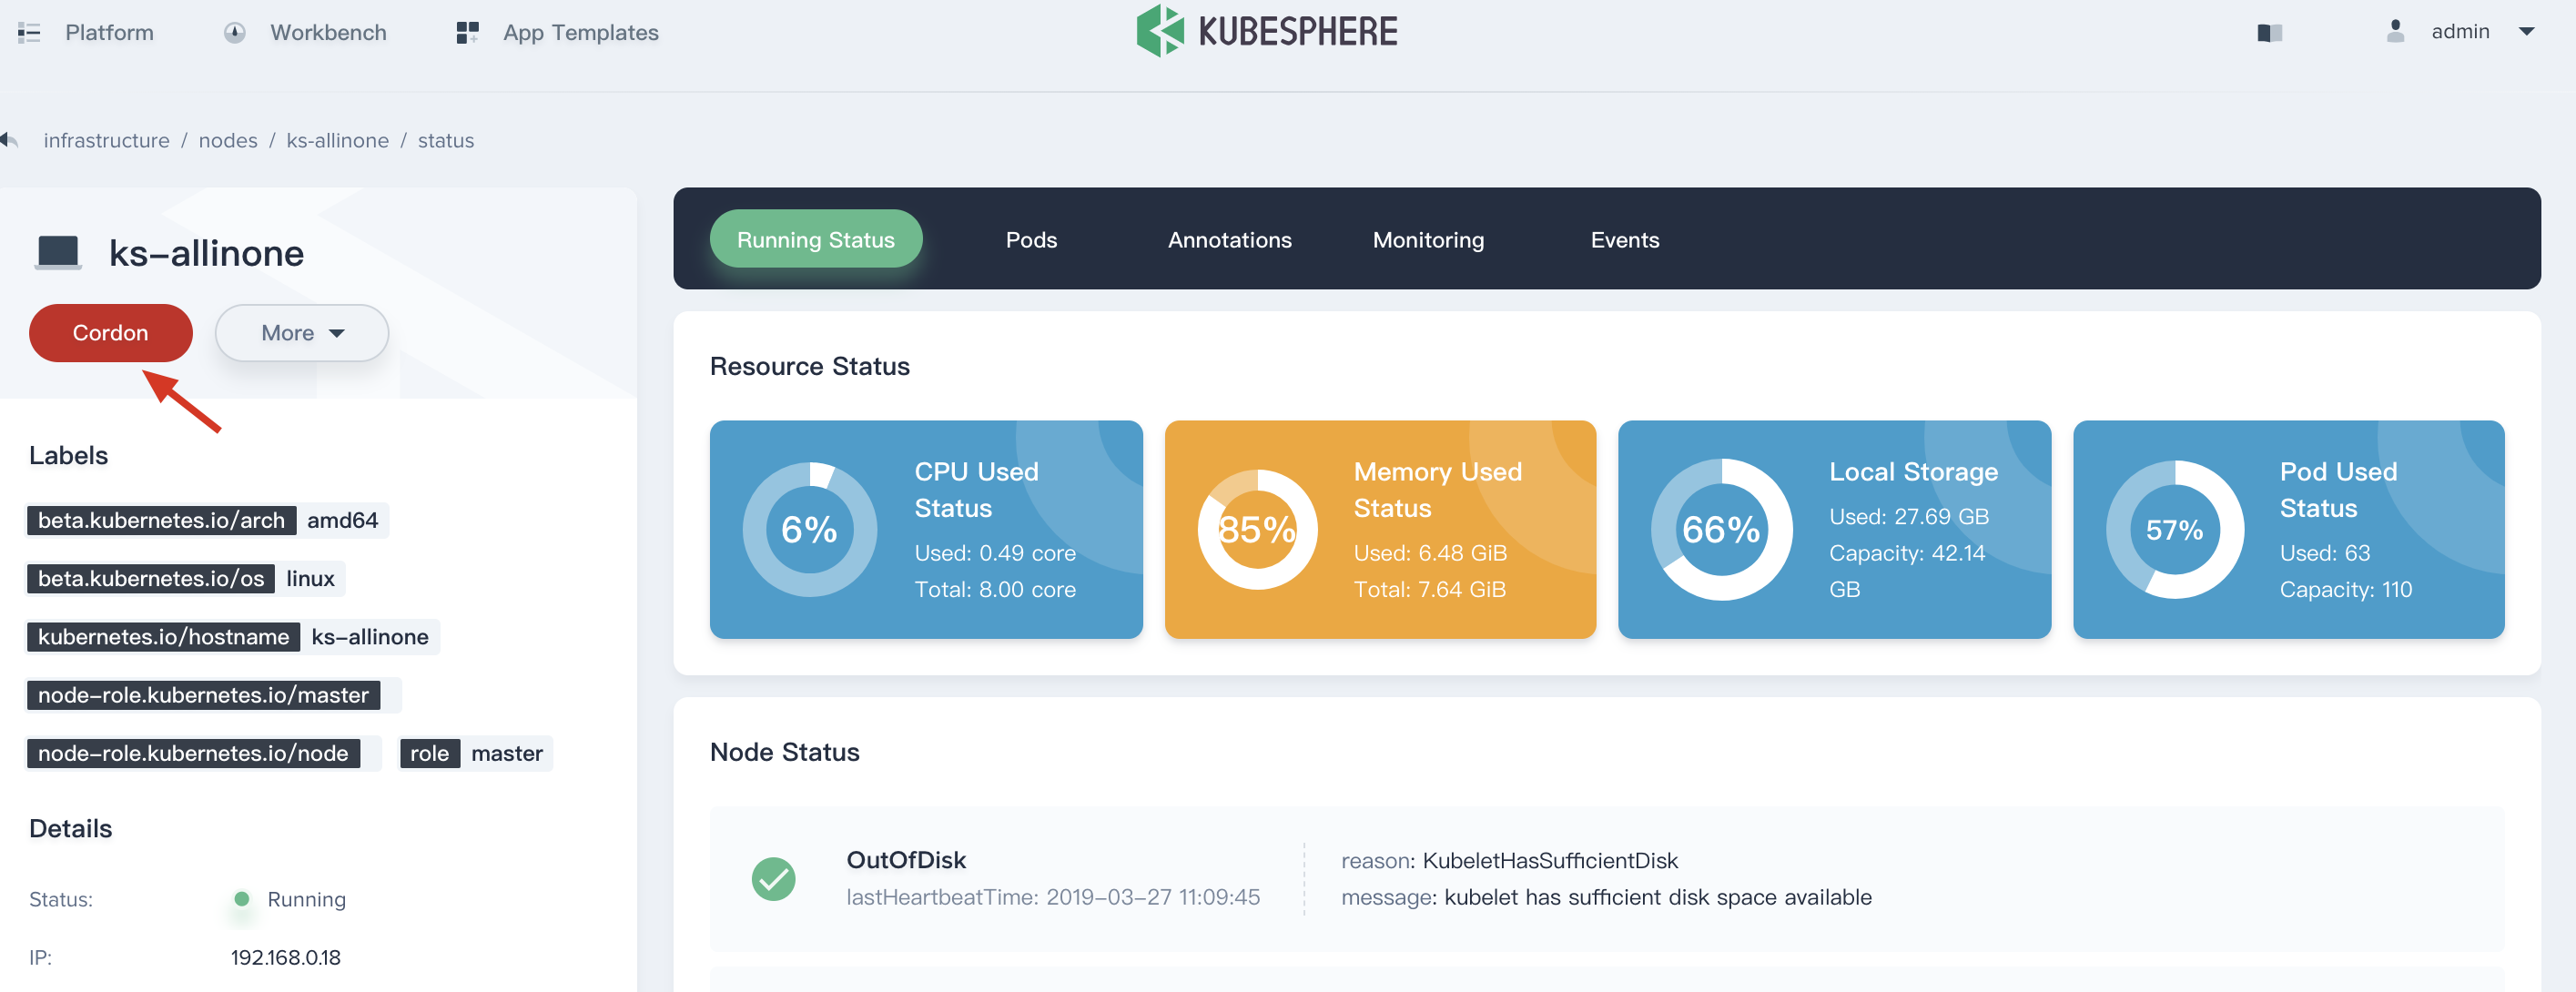
Cordon Node
Similarly, if you need to cordon or isolate nodes in the cluster, such as hardware upgrades, hardware maintenance, etc., in this scenario the cluster administrator can choose Infrustructure → Nodes from the menu, then click the Cordon button, see Node Management.