Installation
Intruction
Install on Linux
Install on Kubernetes
Related Tools
Cluster Operation
Quick Start
Cluster Admin Guide
Multi-tenant Management
Platform Management
Infrastructure
Monitoring Center
User Guide
Storage
Configuration Center
Project Settings
Development Guide
API Documentation
All-in-One Installation
For those who are new to KubeSphere and looking for the fastest way to install and experience the dashboard, the all-in-one installation must be your best choice since it supports one-click installation. Just follow the steps below to get started.
Preview Installation Demo
Step 1: Prepare the Host
Prepare a host that meets the following requirements for all-in-one installation
Notes:
- Suggest you to disable and stop the firewall, or you have to explicitly allow traffic through some specific ports in your host firewall, see Port Requirements.
- If you are using ubuntu 16.04, the lastest 16.04.5 is recommended.
- If you are using ubuntu 18.04, the root user is needed.
- If there is no sudo command in the Debian system, you need to execute the command of
apt update && apt install sudousing root user before installation.
Hardware Recommendations
| System | Minimum Requirements |
|---|---|
| CentOS 7.5 (64 bit) | CPU:8 Core, Memory:16 G, Disk Space:100 G |
| Ubuntu 16.04/18.04 LTS (64 bit) | CPU:8 Core, Memory:16 G, Disk Space:100 G |
| Red Hat Enterprise Linux Server 7.4 (64 bit) | CPU:8 Core, Memory:16 G, Disk Space:100 G |
| Debian Stretch 9.5 (64 bit) | CPU:8 Core, Memory:16 G, Disk Space:100 G |
Step 2: Download Installer
Download KubeSphere 2.0.2 and enter into the installation folder.
$ curl -L https://kubesphere.io/download/stable/advanced-2.0.2 > advanced-2.0.2.tar.gz \
&& tar -zxf advanced-2.0.2.tar.gz && cd kubesphere-all-advanced-2.0.2/scripts
Step 3: Install KubeSphere
The following procedures will be automatically processed during the installation, which includes the monitoring of the environment and the file, the installation of the software infrastructure, automatic installation of Kubernetes and etcd, and the automatic storage configuration. Kubernetes v1.13.5 will be installed by default.
Tips:
- Generally, you can install it directly without any modification.
- KubeSphere supports
calicoby default. If you would like to customize the installation parameters, such as network, storage, GitLab, Harbor or load balancer plugin, you need to specify or edit the parameters inconf/vars.yml. Please refer to the Cluster Component Configuration Definition.- All-in-One uses Local volume by default. Since local storage does not support dynamic allocation, the setting up of the persistent volume (PV) by manual is needed. Installer will set up 26 avalaible 10G PVs in advance. Once the storage is insufficient, manul setting is needed. Please reder to Local Volume Instruction.
- Supported Storage Types:QingCloud Block Storage(The Hanging limit of QingCloud's Public cloud single node is 8.)、QingStor NeonSAN、GlusterFS、CephRBD、NFS、Local Volume. For details regarding storage configuration, please refer to Storage Configuration Instructions.
- Since the default subnet for Kubenetes' Cluster IPs is 10.233.0.0/18, Pod default subnet IP is 10.233.64.0/18. The node IPs for KubeSphere installation must not overlap with those 2 default IPs. If any conflicts happened, go to
conf/vars.yamlto modify the parameters of thekube_service_addressesor thekube_pods_subnet.
Attention:
If you use KubeSphere defult network plugin, Calico, for insllation and the host is running in the underlying network, you need to add firewall IPIP protocal for the source IP (IP/port collection). For example, here is to show you how to add firewall IPIP protocol on QingCloud platform.
Tip: The installation duration is related to the network conditions, bandwidth, machine configuration and the number of nodes. Almost 25 minutes are needed under good network conditions.
1. Root user is recommended for installation. Execute install.sh:
$ ./install.sh2. Enter 1 to select all-in-one mode to start:
################################################
         KubeSphere Installer Menu
################################################
*   1) All-in-one
*   2) Multi-node
*   3) Quit
################################################
https://kubesphere.io/               2018-10-08
################################################
Please input an option: 1
3. Verify if installed successfully:
(1). If you can see "Successful" after excuting install.sh, that means KubeSphere has been installed successfully.
successsful!
#####################################################
###              Welcome to KubeSphere!           ###
#####################################################

Console: http://192.168.0.8:30880
Account: admin
Password: P@88w0rd

NOTE:Please modify the default password after login.
#####################################################
Tip: If you need to view the above interface, just execute
cat kubesphere/kubesphere_runningcommand in the installer directory.
(2). If you need external network access, you need to forward the internal port 30880 to the source port 30880 in the port forwarding rule on the cloud platform. Then open the source port on the firewall to ensure that external network traffic can go through this nodeport.
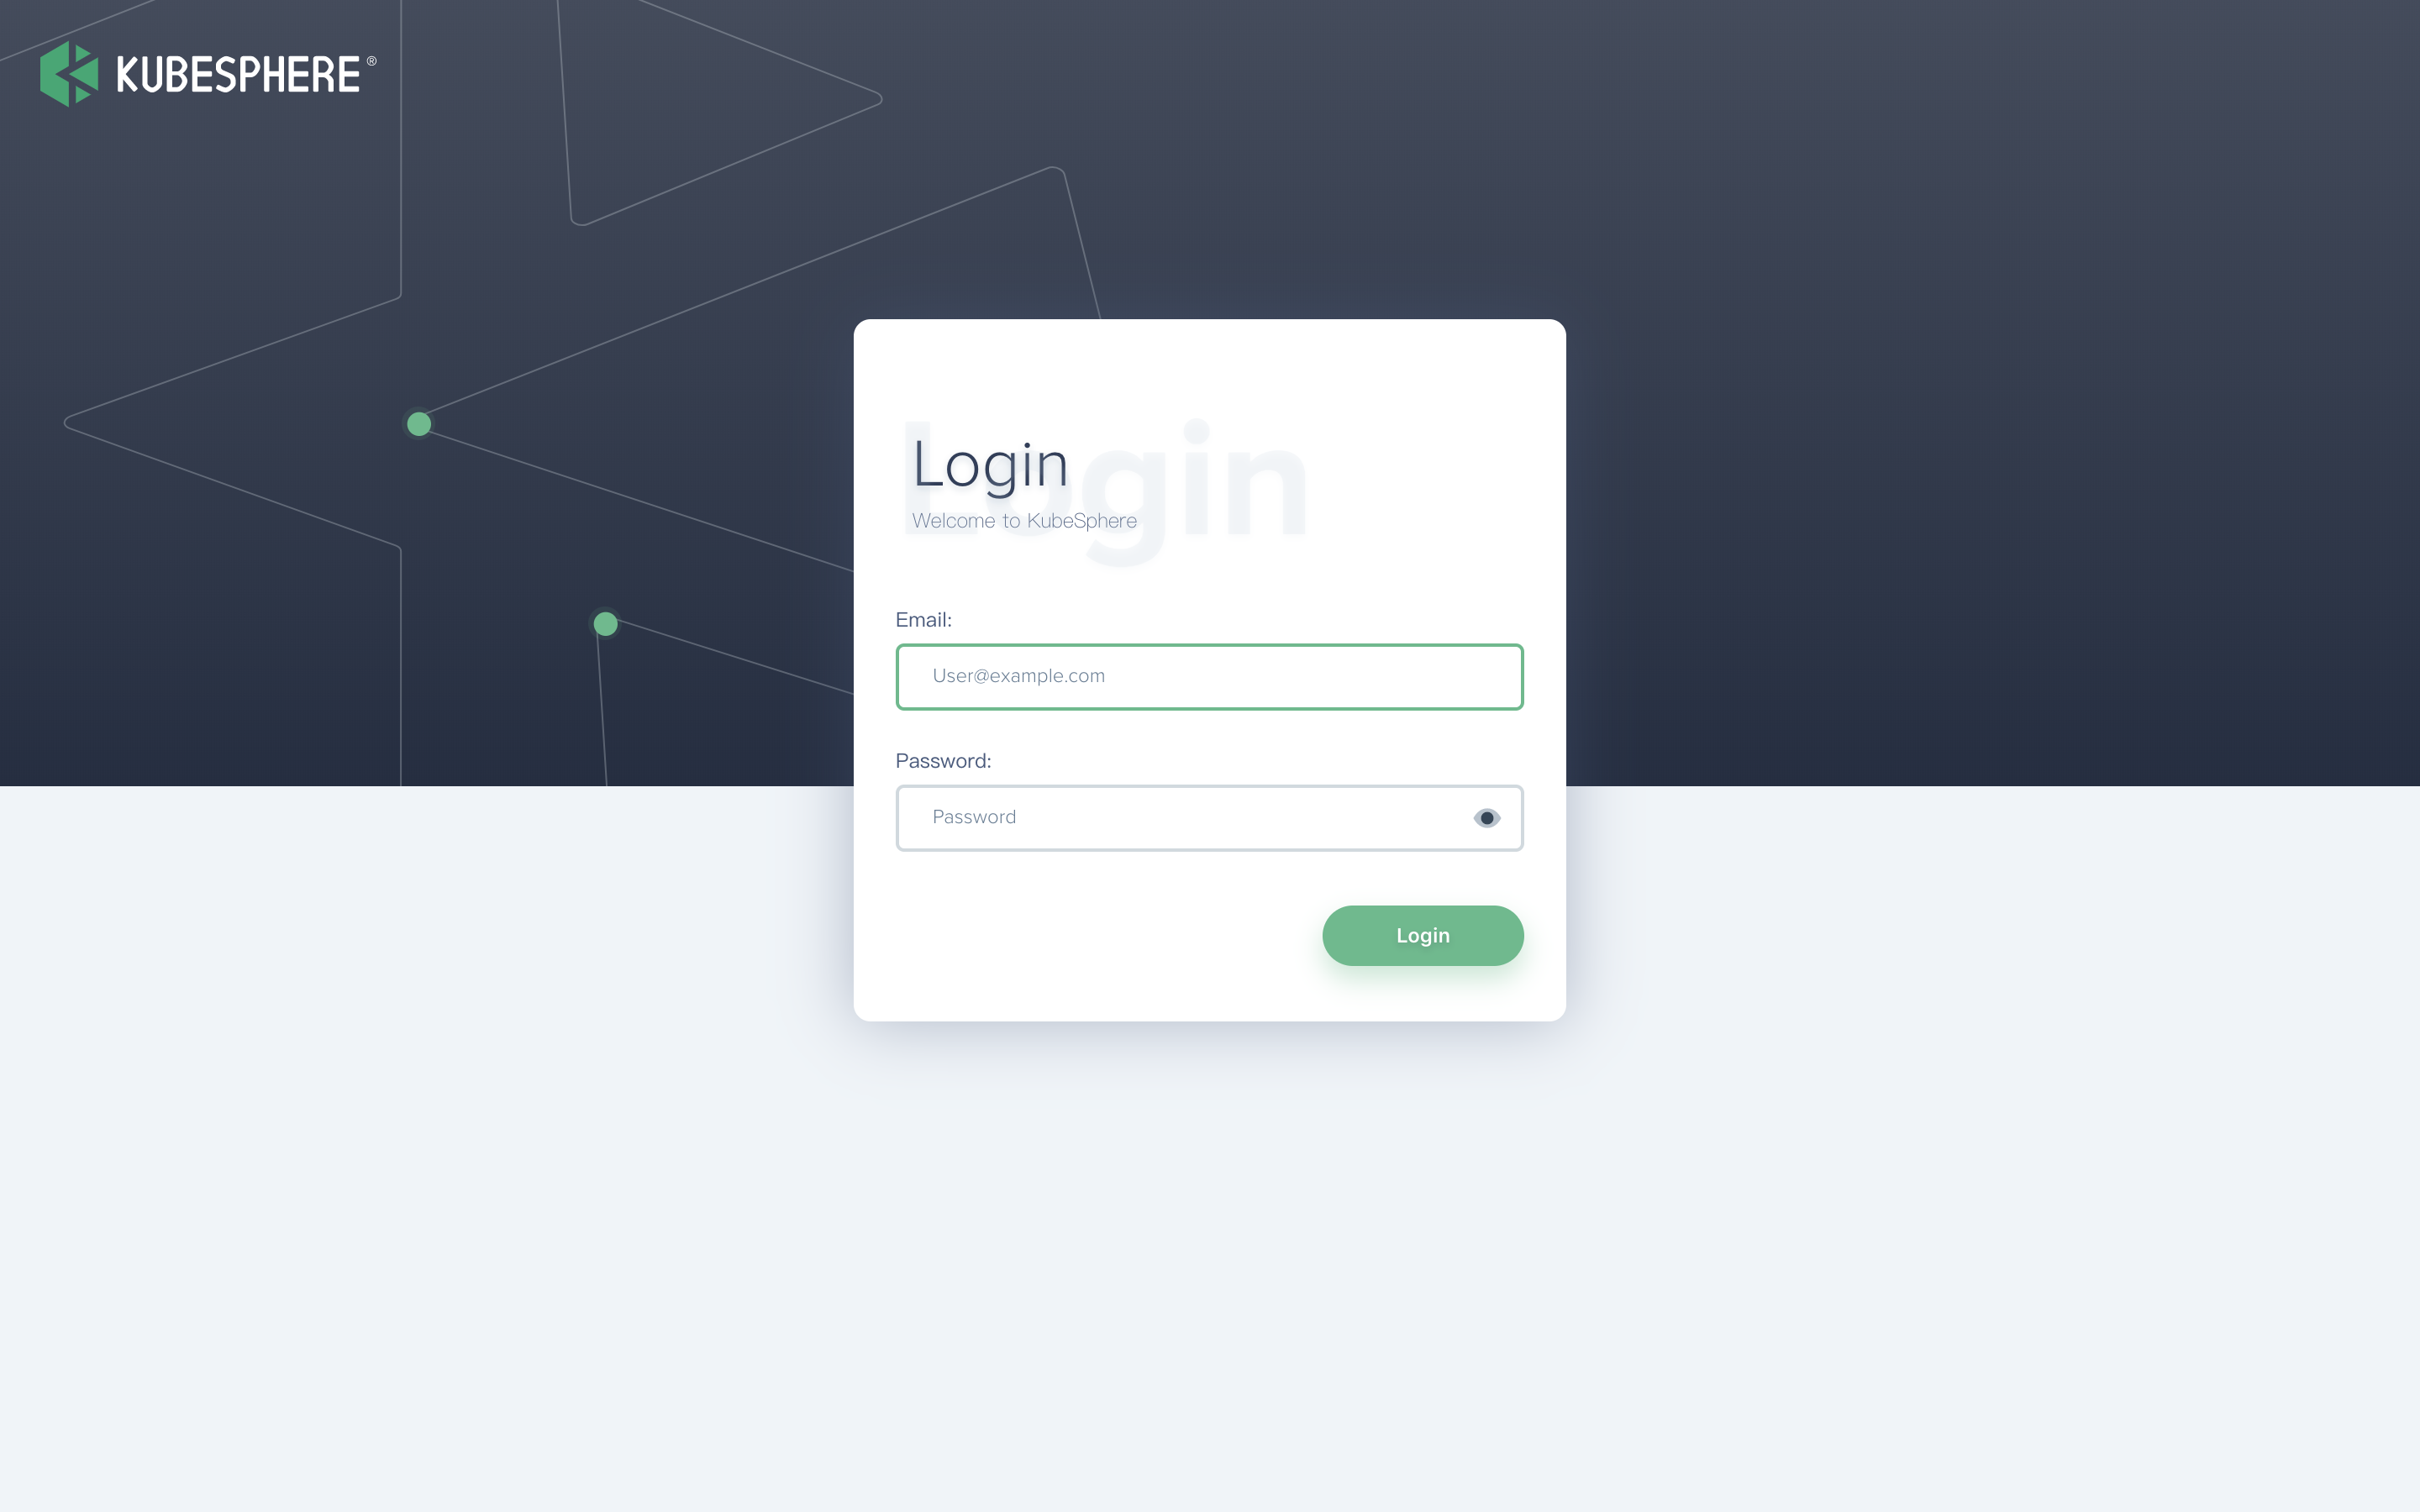
(3). After installation, visit according URL such as http://{$IP}:30880, you can access to KubeSphere login page. You can use default account and password to log in to the KubeSphere console. Please change the default password after logging in. Please refer to the KubeSphere Quick Start to master KubeSphere.

Attention: After logging into the console, please verify the service components' monitoring status in the "Cluster Status". Once all the components‘ startups have completed, the console can be used. Generally, all the service components complete their startup in 15 minutes.

FAQ
KubeSphere has run the deployment test on aliyun, tencent cloud, huawei cloud, Qingcloud and AWS. For test results and relevant solutions, please refer to Multiple Cloud Platform Installation Testing Result. Besides, we have arranged related solutions to common installation issues in the Common Installation Issues. If you have other installation problems, please submit on GitHub.