Installation
Intruction
Install on Linux
Install on Kubernetes
Related Tools
Cluster Operation
Quick Start
Cluster Admin Guide
Multi-tenant Management
Platform Management
Infrastructure
Monitoring Center
User Guide
Storage
Configuration Center
Project Settings
Development Guide
API Documentation
How to Invoke KubeSphere API
ks-apigateway is KubeSphere's API gateway. After the deployment of KubeSphere, you can refer to the API developer guide as following.
Step 1: Exposing ks-apigatway service
ks-apigatway's service port can be set as NodePort. In this way, ks-apigatway service can be exposed. You can choose to use UI or commands to realize the exposure:
Using KubeSphere UI
-
Log in KubeSphere console and enter into
system-workspace-> projectkubesphere-system. In the service list, click and enter into the service's page ofks-apigateway. -
Click「More Operation」 -> 「Edit External Network Access」. Set the access mode as
NodePorand click confirm. -
You can find the generated NodePort as NodePort in the service page.

Using Command
- Log in to KubeSphere using the admin account, open Web Kubectl in the 「Toolbox」 in the lower right corner, and execute the following command
$ kubectl -n kubesphere-system patch svc ks-apigateway -p '{"spec":{"type":"NodePort"}}'
service/ks-apigateway patched- Use the following command to view the generated port number. The port number returned is 31078.
$ kubectl -n kubesphere-system get svc ks-apigateway -o jsonpath='{.spec.ports[0].nodePort}'
31078
Step 2: Get Token
All the KubeSphere's APIs should pass the JWT Bearer token authentication. Before invoking API, you need to get access_token from /kapis/iam.kubesphere.io/v1alpha2/login port. Then add the Authorization: Bearer <access_token> into the following requests.
Open Web Kubectl at the lower right corner of KubeSphere. Execute the following commands where 192.168.0.20 is the sample's node IP and 31078 is the ks-apigatway service exposed in the previous step.
$ curl -X POST "http://192.168.0.20:31078/kapis/iam.kubesphere.io/v1alpha2/login" -H "accept: application/json" -H "Content-Type: application/json" -d "{ \"password\": \"P@88w0rd\", \"username\": \"admin\"}"
{
 "access_token": "eyJhbGxxxxxxS44"
}
Step 3: Invoke KubeSphere API
After getting the Access Token, the KubeSphere API can be invoked in a user-defined request function. For further details, please refer to API Guide.
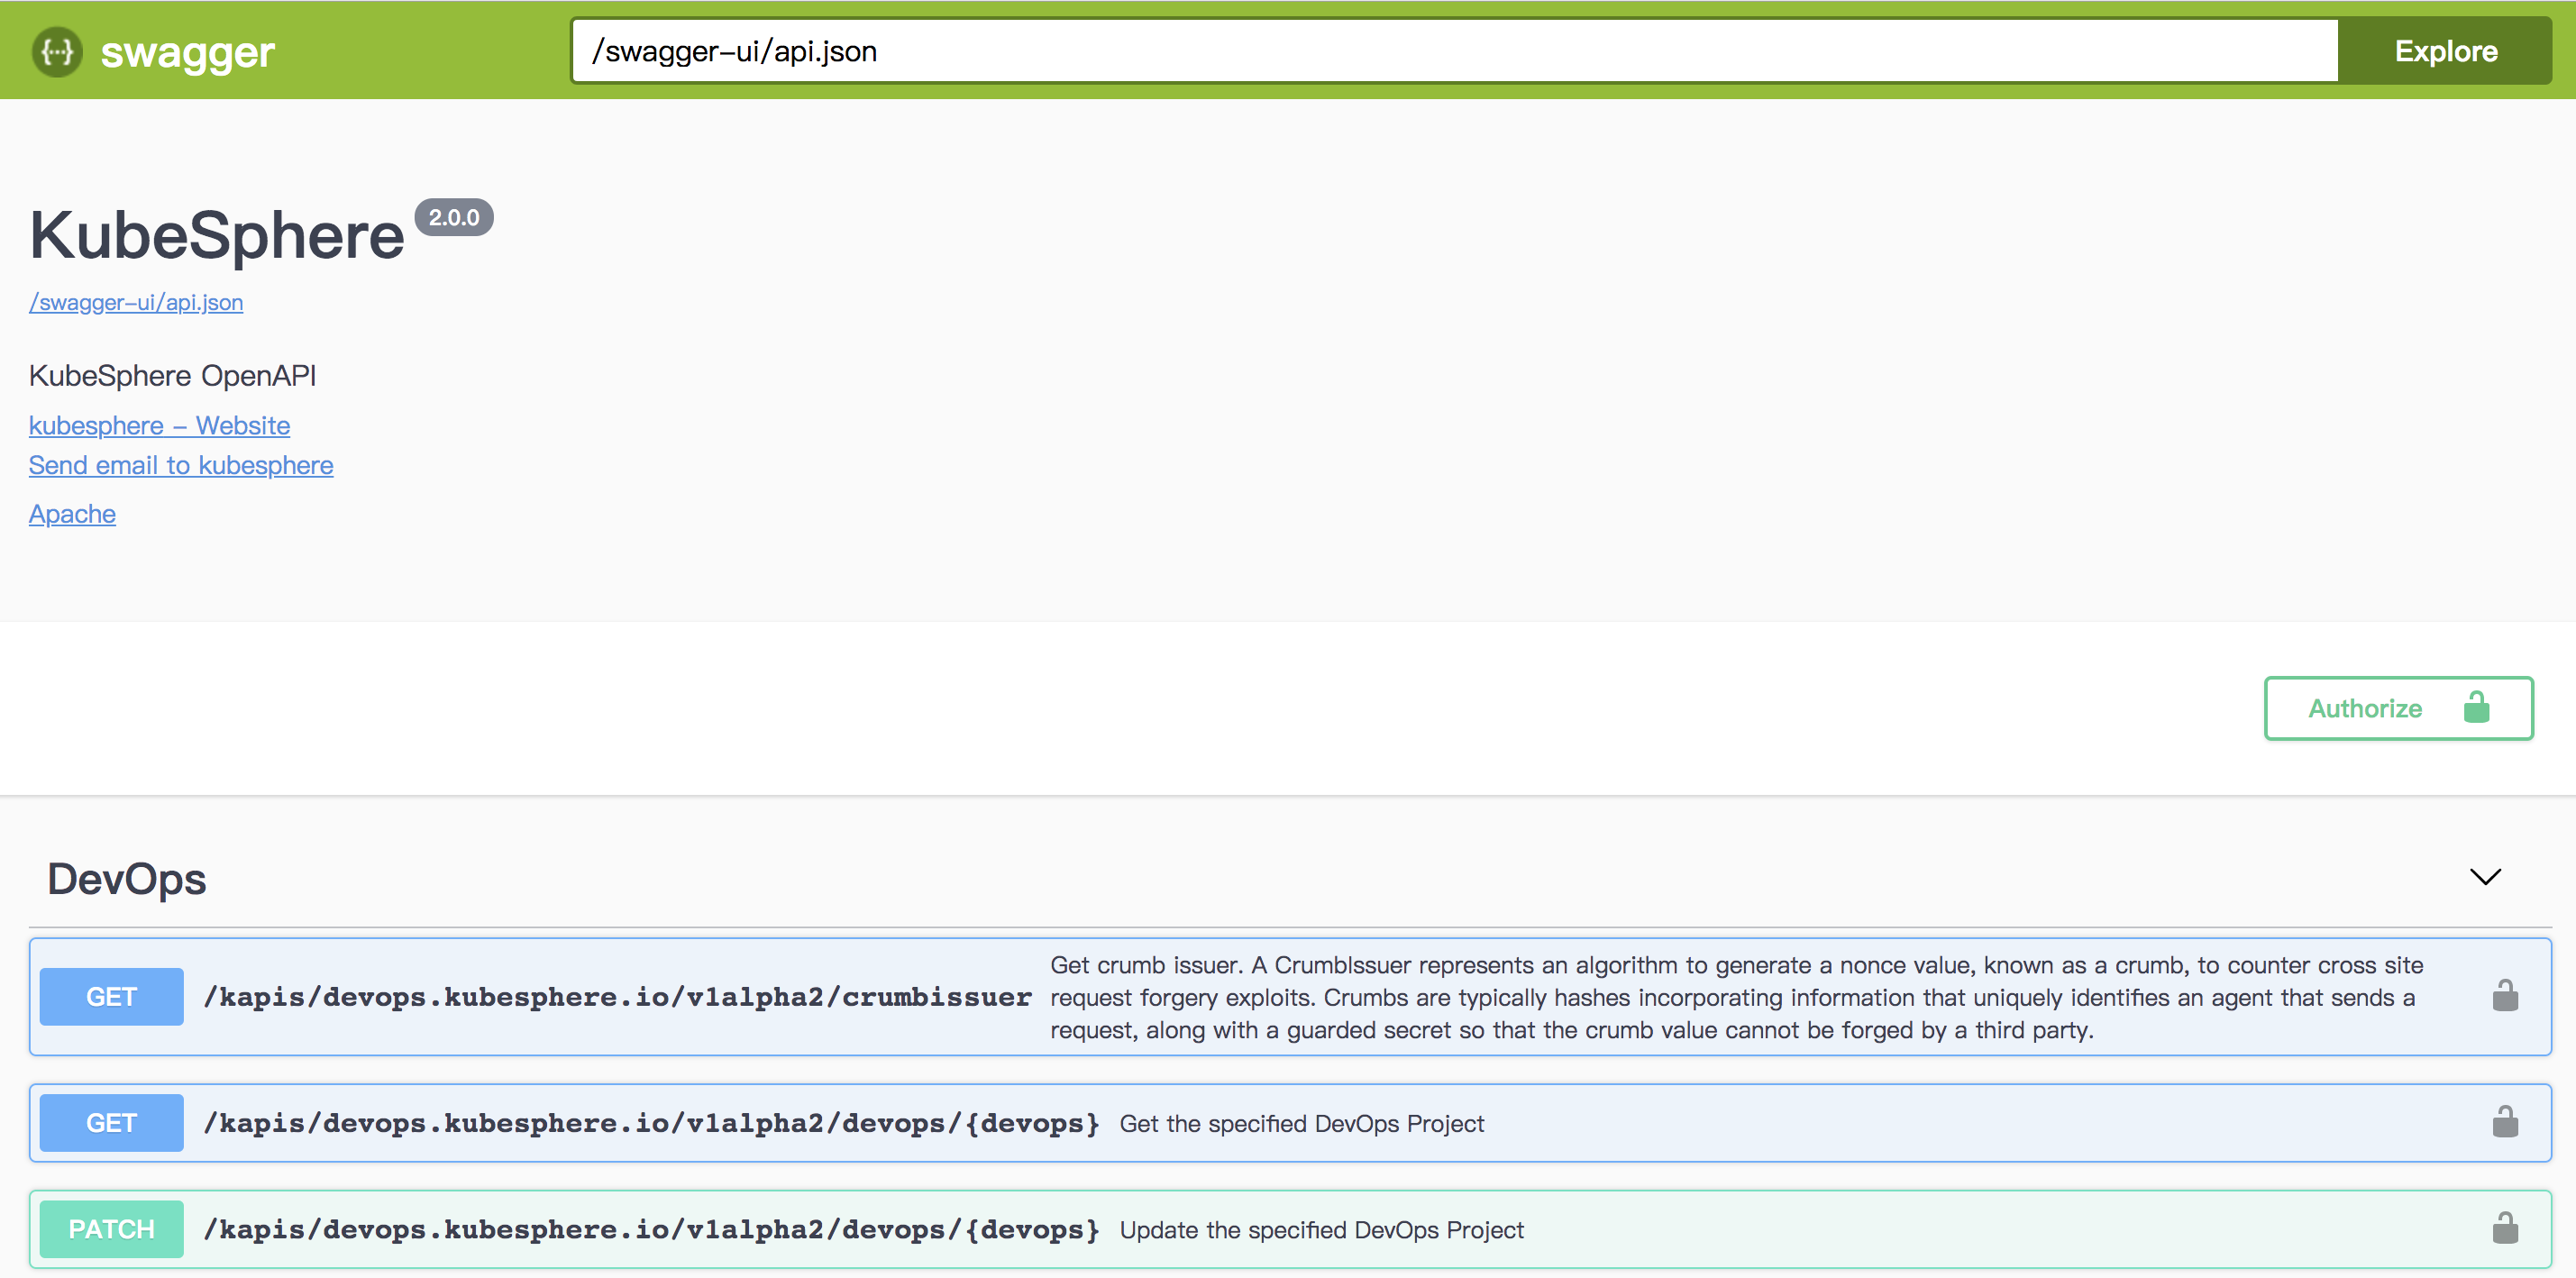
How to Access to Swagger UI
KubeSphere's API can be previewed in Swagger UI. Access the URL http://IP:NodePort/swagger-ui to visit Swagger UI such as http://192.168.0.20:31078/swagger-ui/.