Installation
Intruction
Install on Linux
Install on Kubernetes
Related Tools
Cluster Operation
Quick Start
Cluster Admin Guide
Multi-tenant Management
Platform Management
Infrastructure
Monitoring Center
User Guide
Storage
Configuration Center
Project Settings
Development Guide
API Documentation
Routes
Route can be considered as ingress in Kubernetes, an Route can be configured to give services externally-reachable URLs, load balance traffic, terminate SSL, and offer name based virtual hosting. Route exposes HTTP and HTTPS routes from outside the cluster to services within the cluster. Traffic routing is controlled by rules defined on the Ingress resource.

Prerequistites
- Make sure you have created a service, the traffic will be forwarded to the backend service.
- If you are going to create a route with https protocol, make sure you have created a secret in advance.
Create a Route
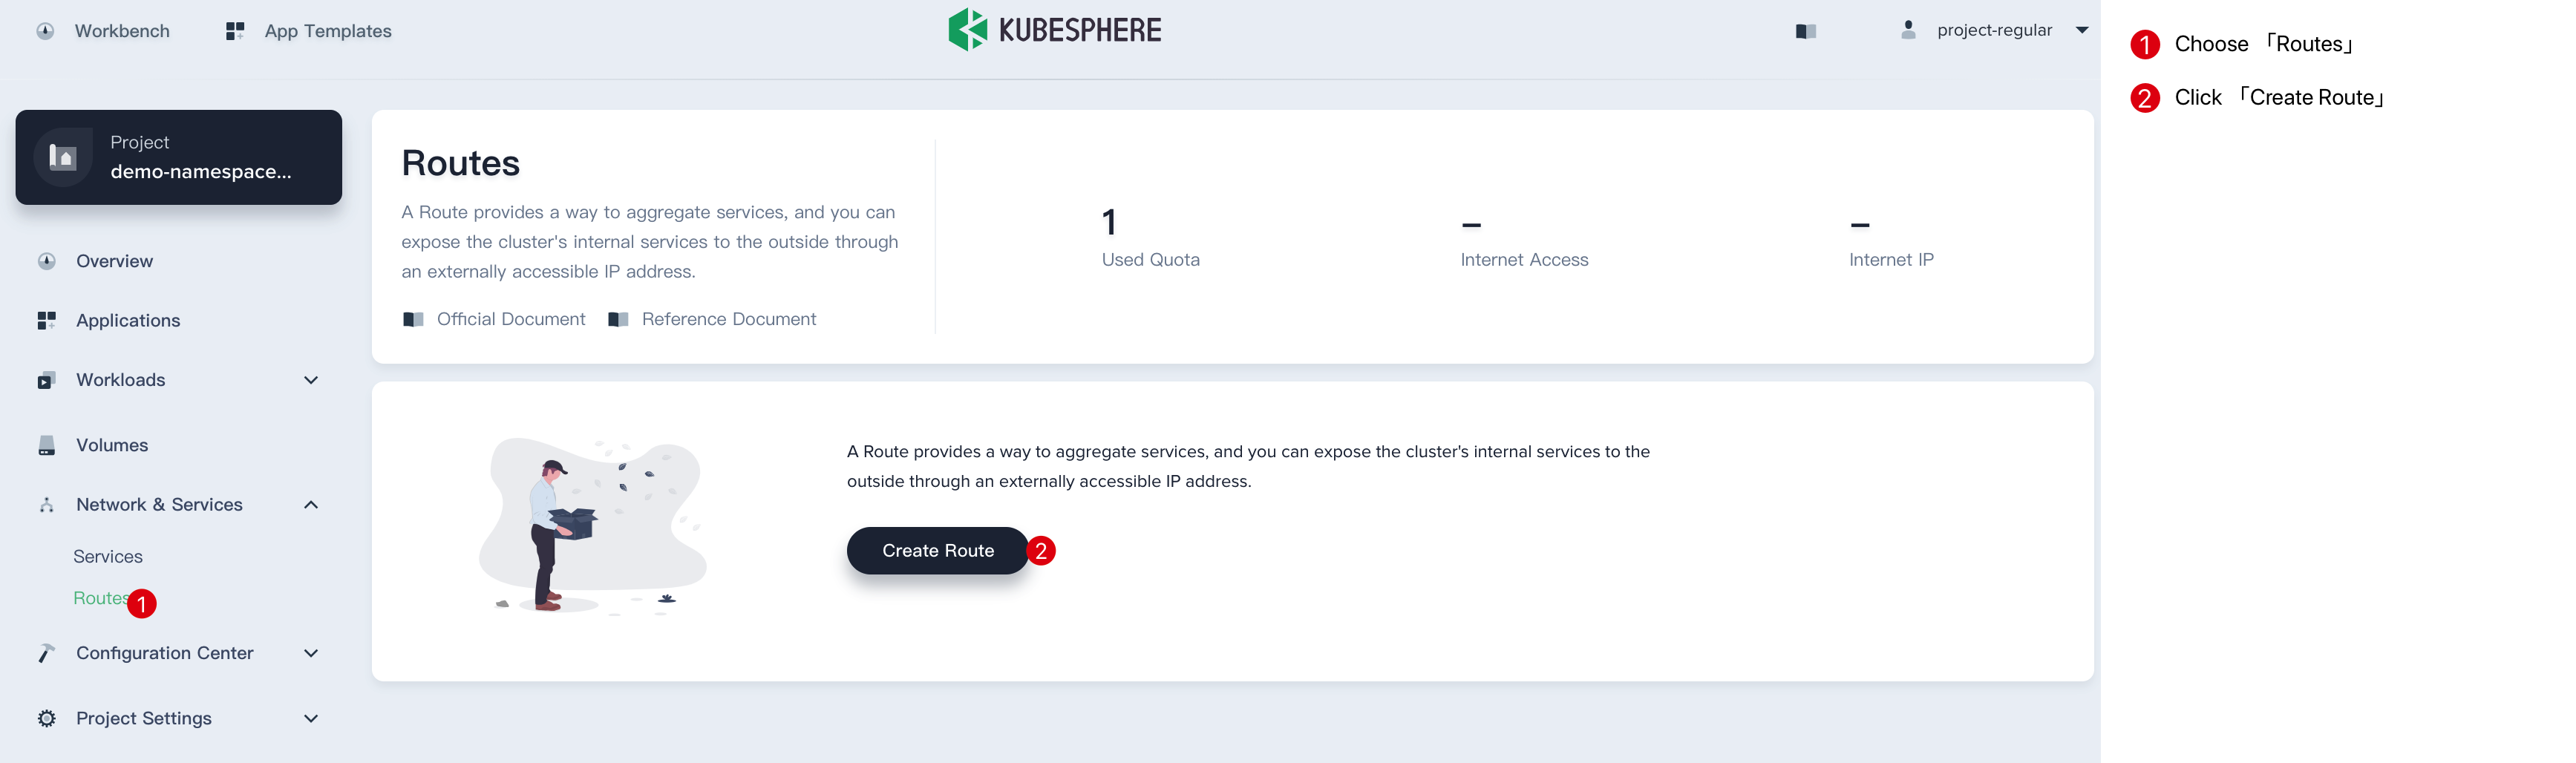
Sign in with project-regular, enter into one project (e.g. demo-namespace), then select Network & Services → Routes.
Step 1: Fill in the Basic Information
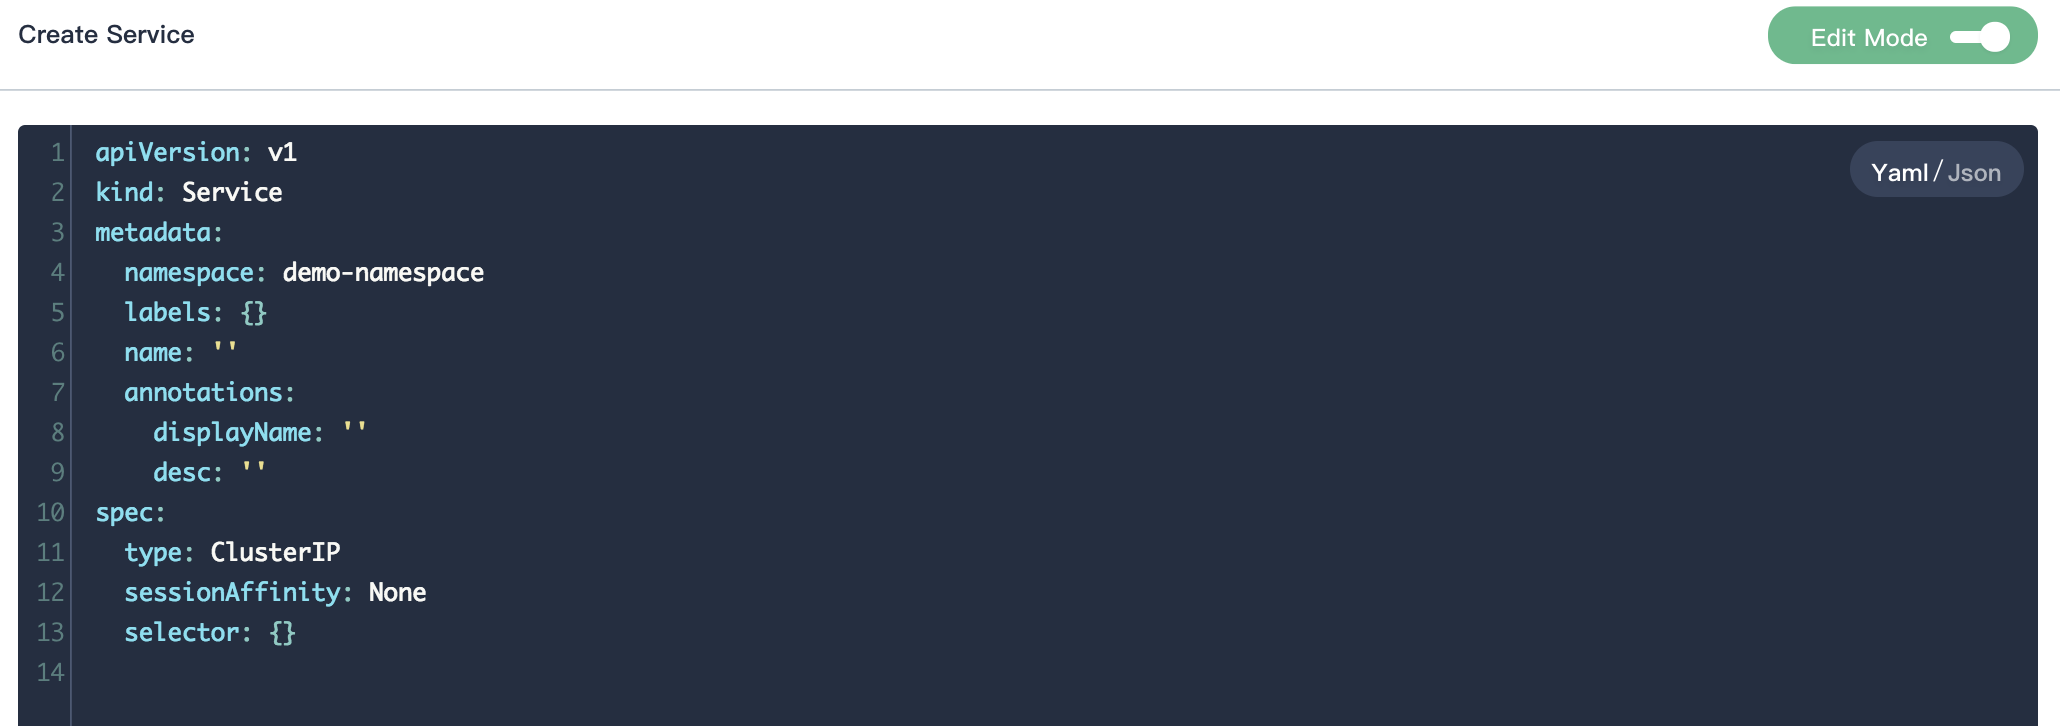
1.1. Click Create Route button, then fill in the basic information in the pop-up window. There are two ways to create a Route, i.e. fill in the creation table and edit mode. The following mainly introduces each step within creation table. If you prefer edit mode, you can click on the edit mode button, it supports the yaml and json formats. Edit mode makes it easy for users who are used to command operations.
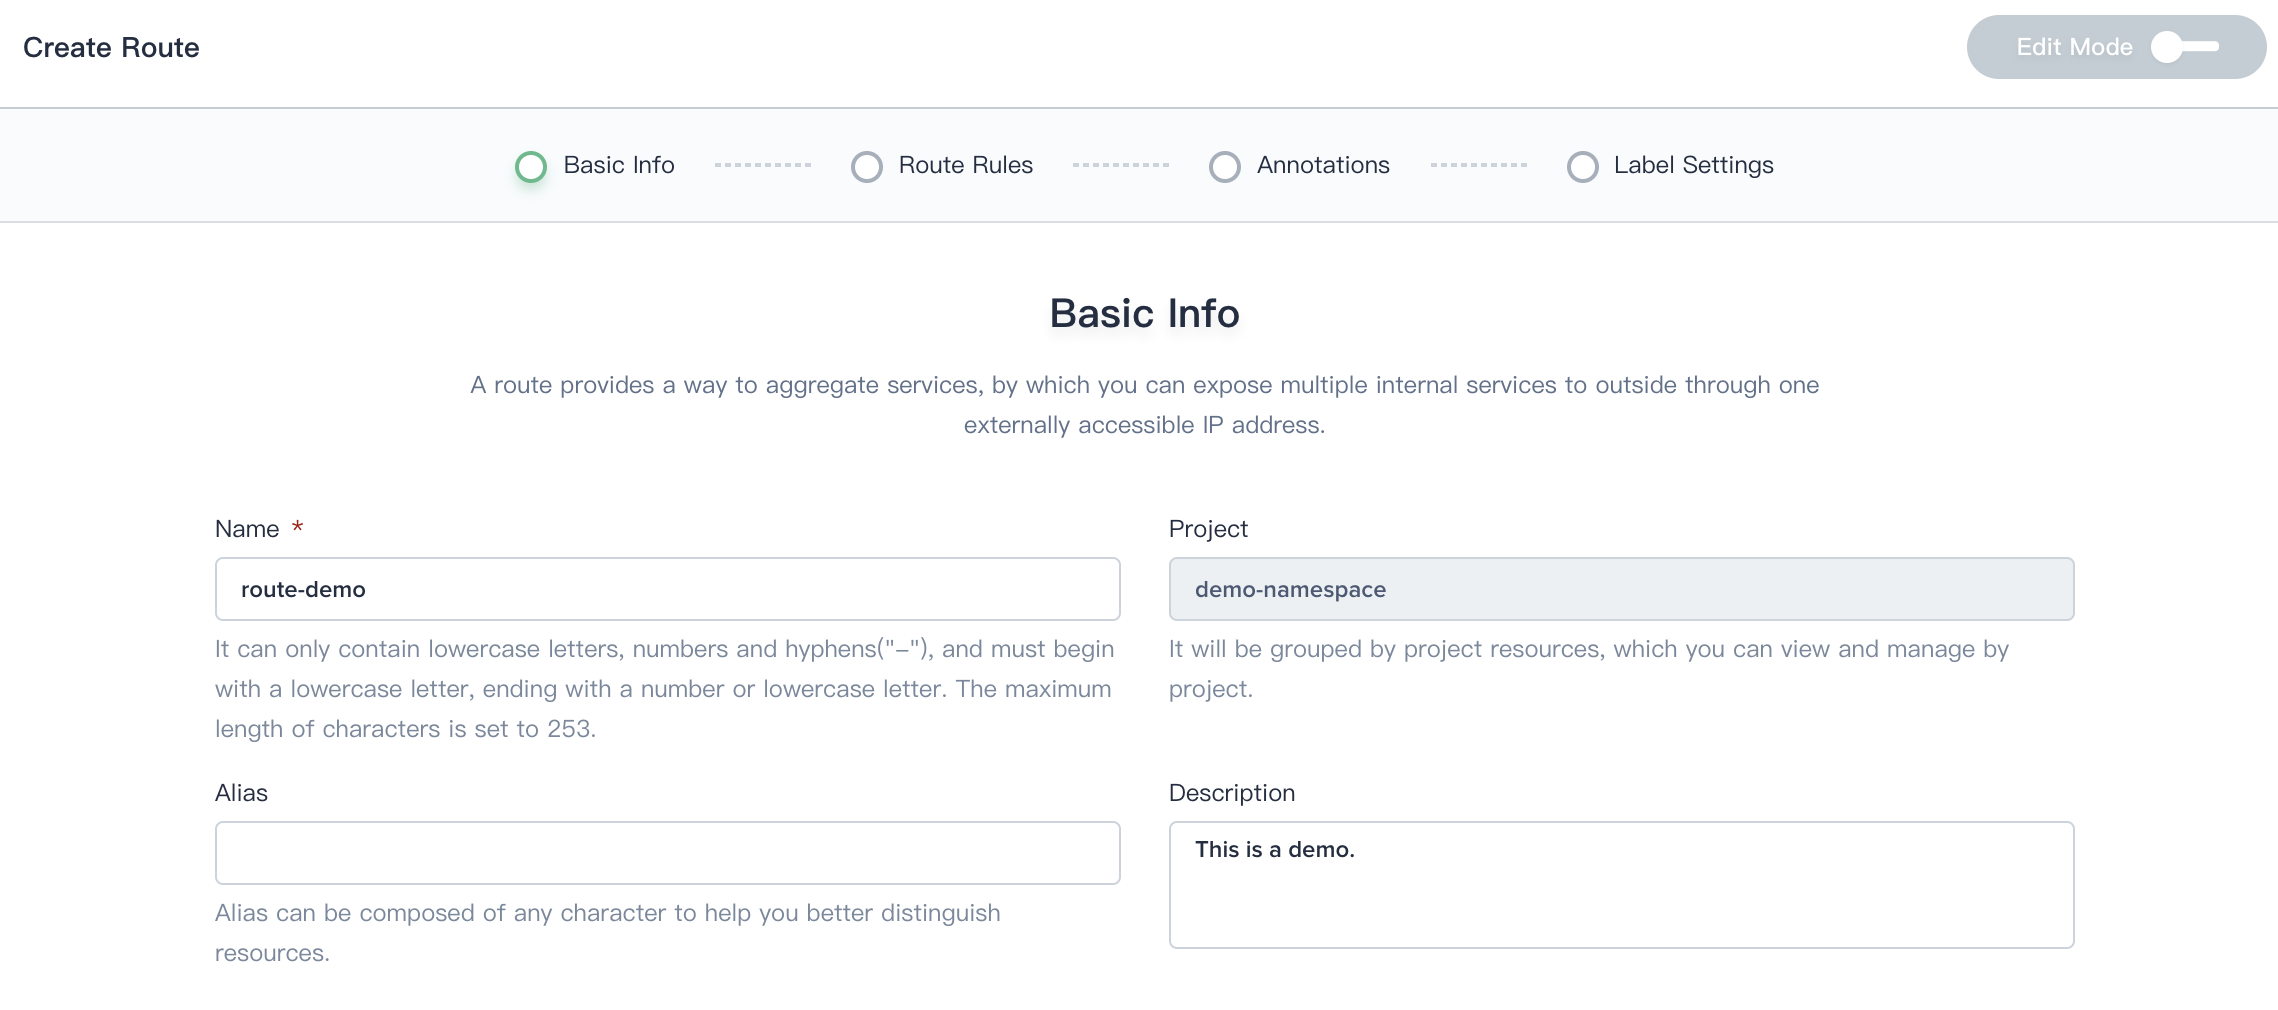
1.2. On the basic information page, enter the name of the Route, you can also fill in the description as required.
- Name: A concise and clear name for this Route, which is convenient for users to browse and search.
- Alias: Helps you better distinguish resources and supports Chinese.
- Description: A brief introduction to Route.
Click Next when you're done.
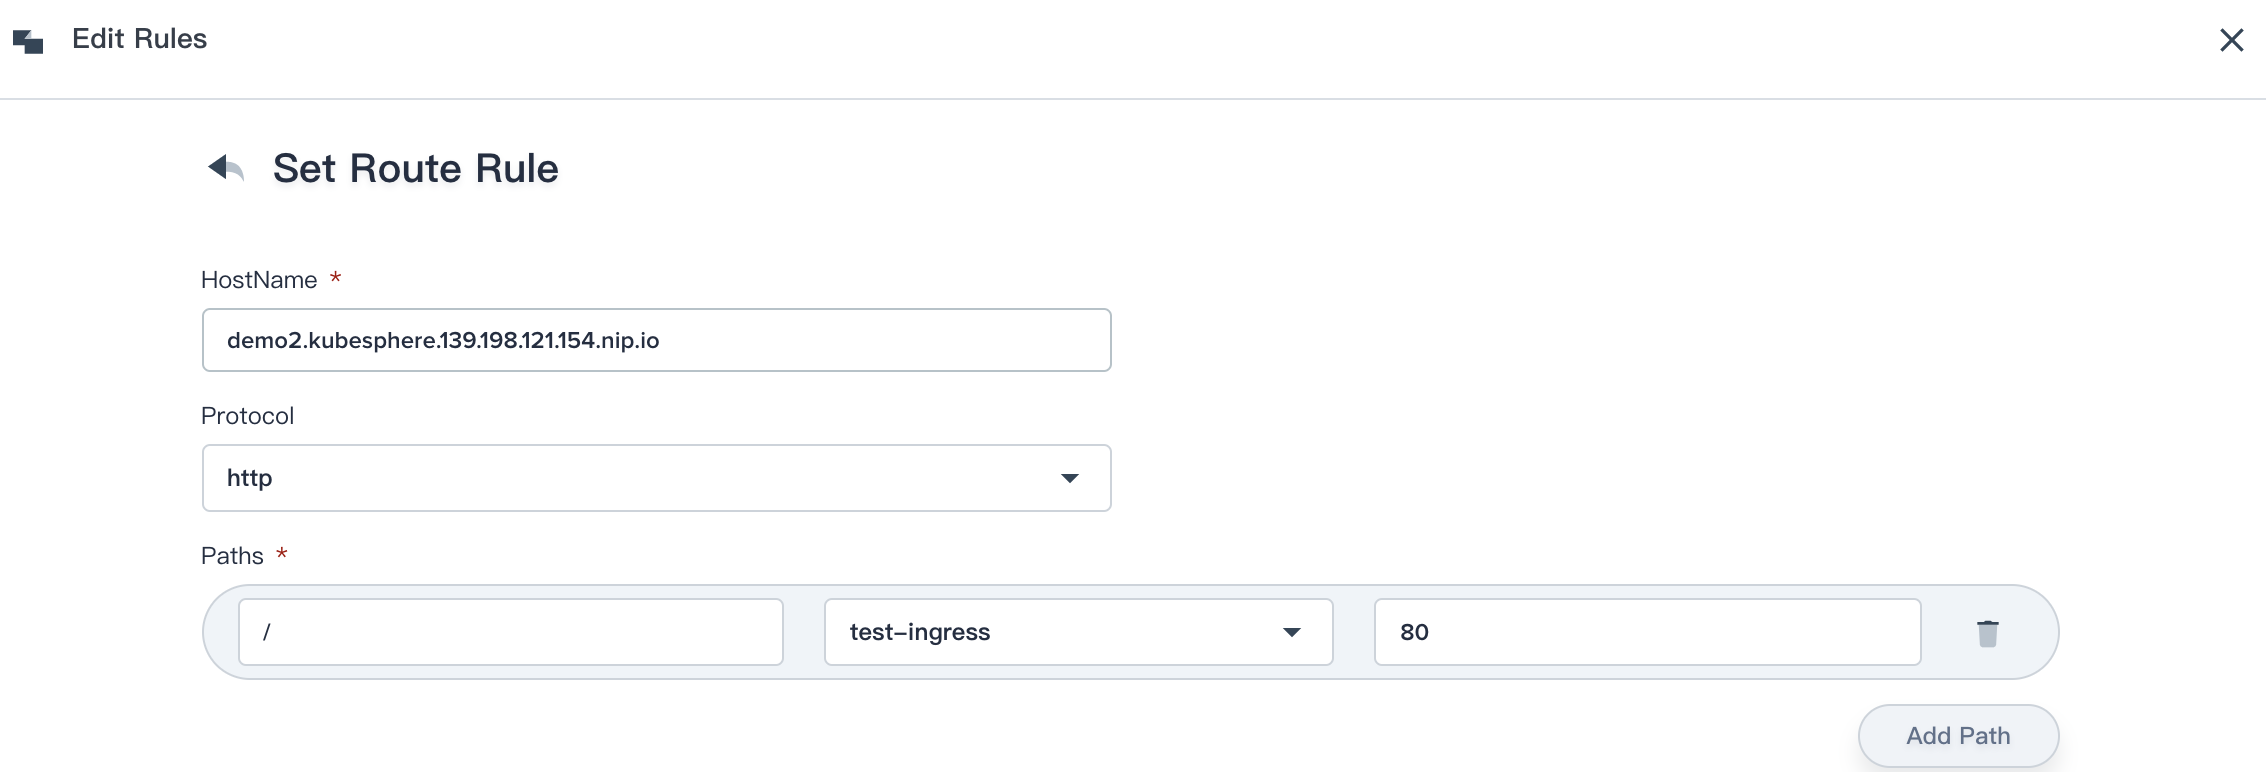
Step 2: Route Rules
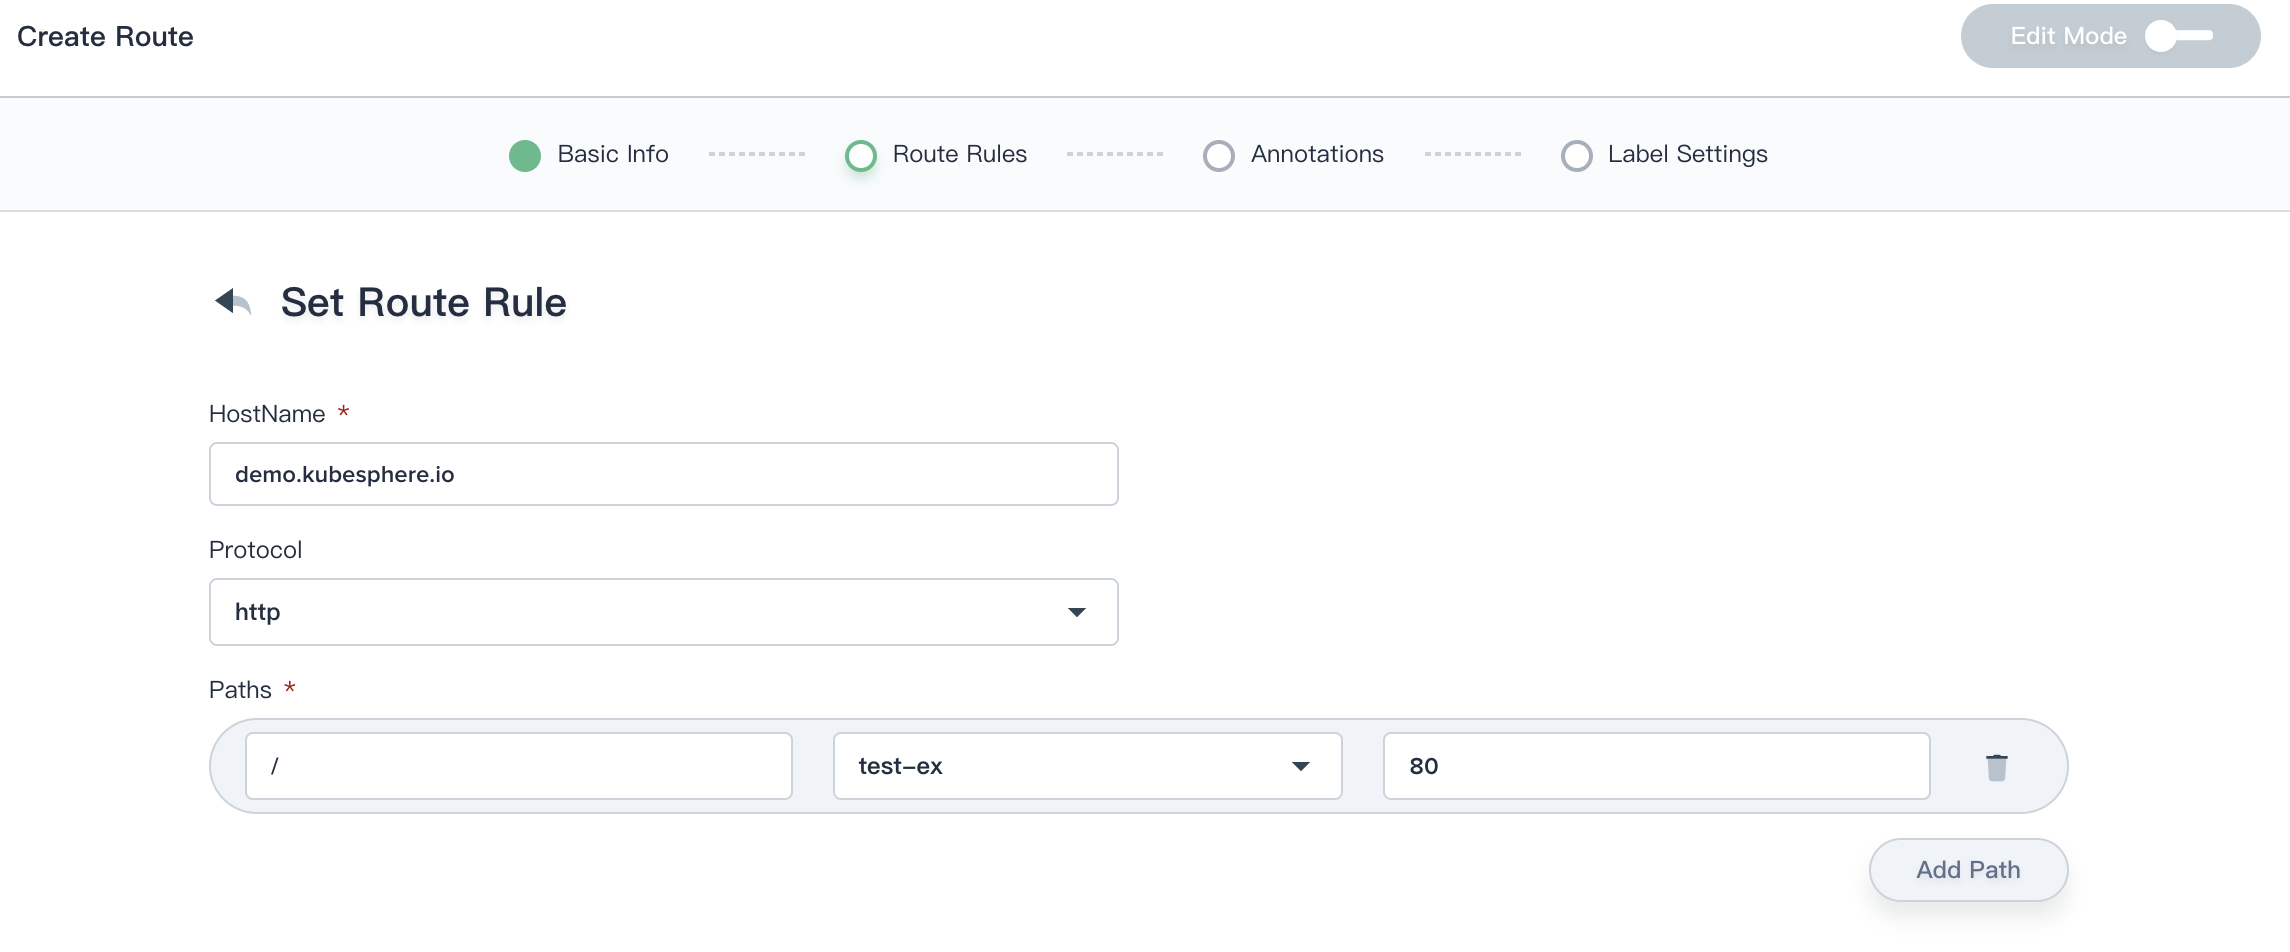
Click Add Route Rule, then fill in the route rules refer to the hints below:
- HostName: Name-based virtual hosts support routing HTTP or HTTPS traffic to multiple host names at the same IP address, for example,
demo.kubesphere.io. -
Protocol
- http: http requests to the Route matching the hostname and path of the rule will be sent to the listed backend.
- https: You can secure an Route by specifying a secret that contains a TLS private key and certificate, then you can choose https protocol.
- Paths: Each of path has an associated backend defined with a serviceName and servicePort. Both the host and path must match the content of an incoming request before the loadbalancer will direct traffic to the referenced service.
Click Save then choose Next when you're done.
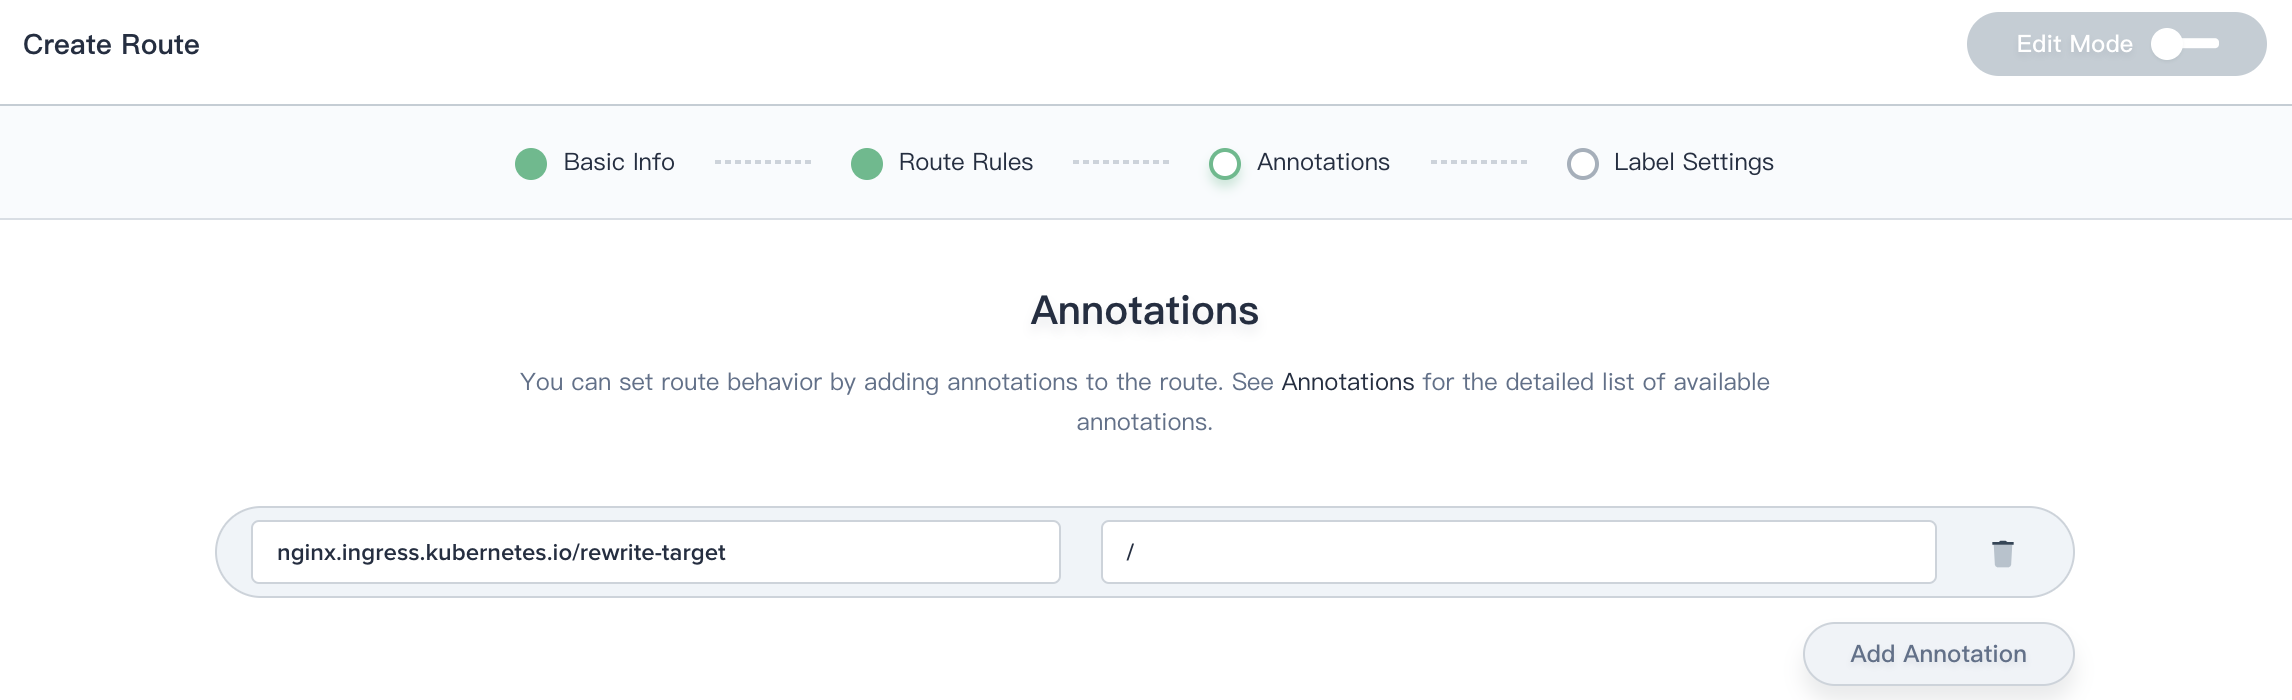
Step 3: Add Annotations
Ingress frequently uses annotations to configure some options depending on the Ingress controller, an example of which is the rewrite-target annotation. Different Ingress controller support different annotations.
For example, add the following annotation to indicate that the /path is redirected to the root path/ where can be recognized by the back-end service. The purpose of the redirection annotation is to route the application to the backend workload in the root path, to prevent a page from returning a 404 error due to misconfiguration of the access path.
nginx.ingress.kubernetes.io/rewrite-target: /Then click Next when you're done.
Step 4: Label Settings
The labels are one or more key-value pairs that are associated with a resource, such as a Pod. We usually identify, organize, or find resource objects through labels, e.g. label selector.
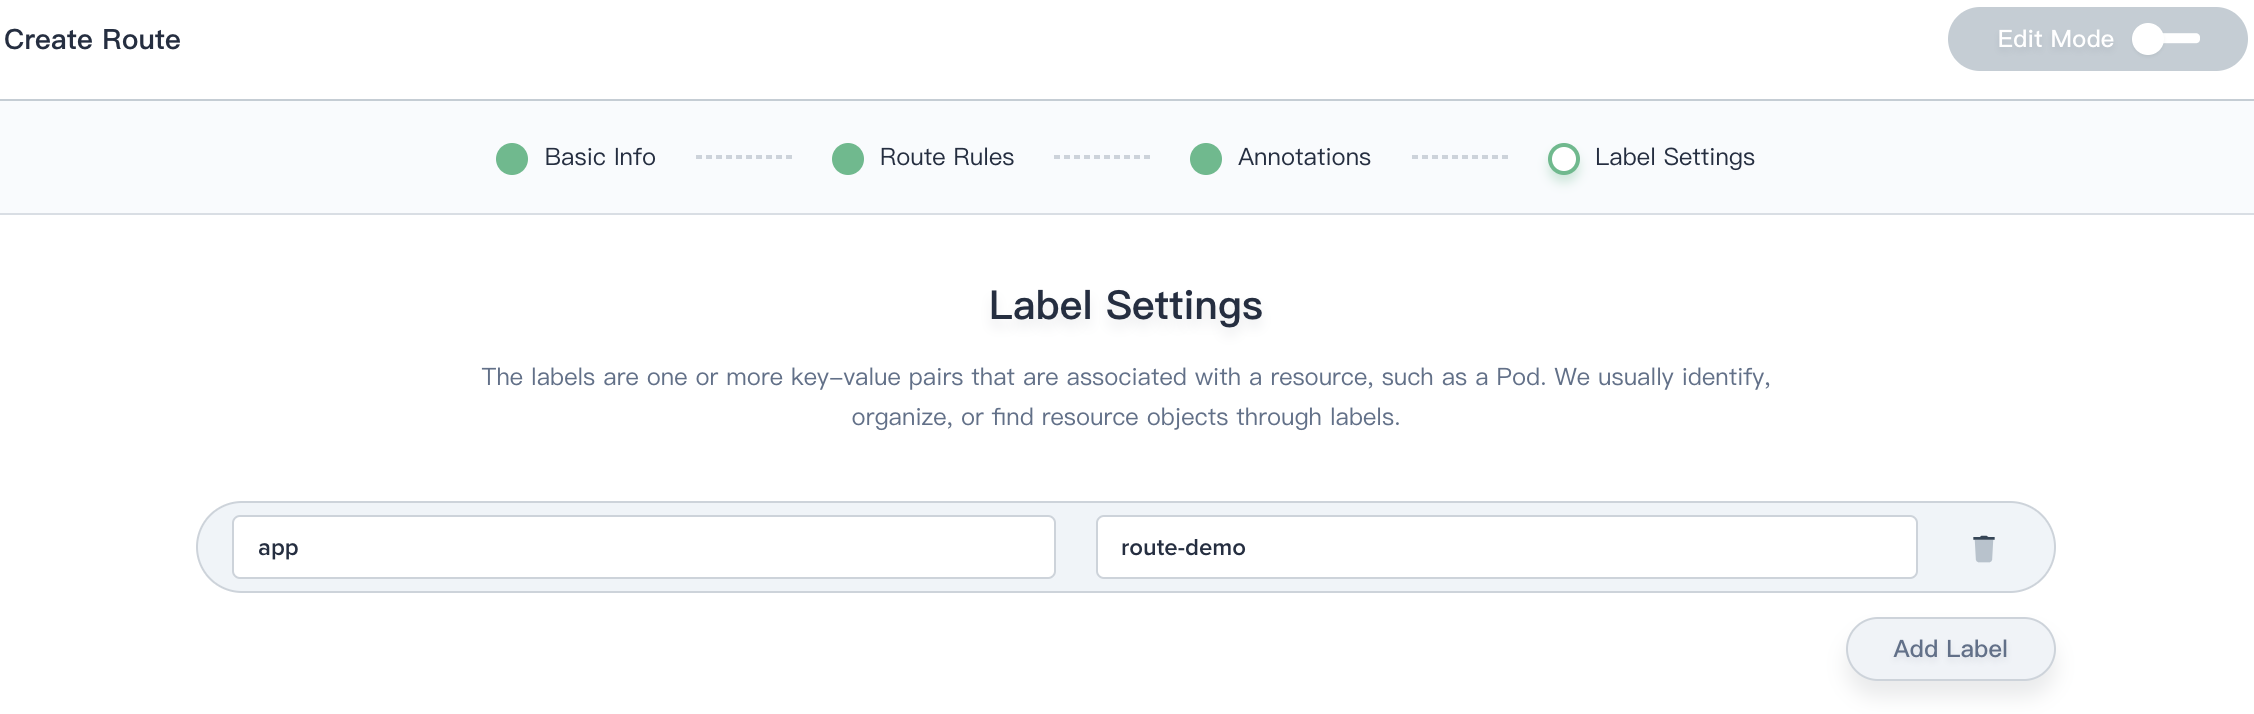
Click on the Create button to complete creation.
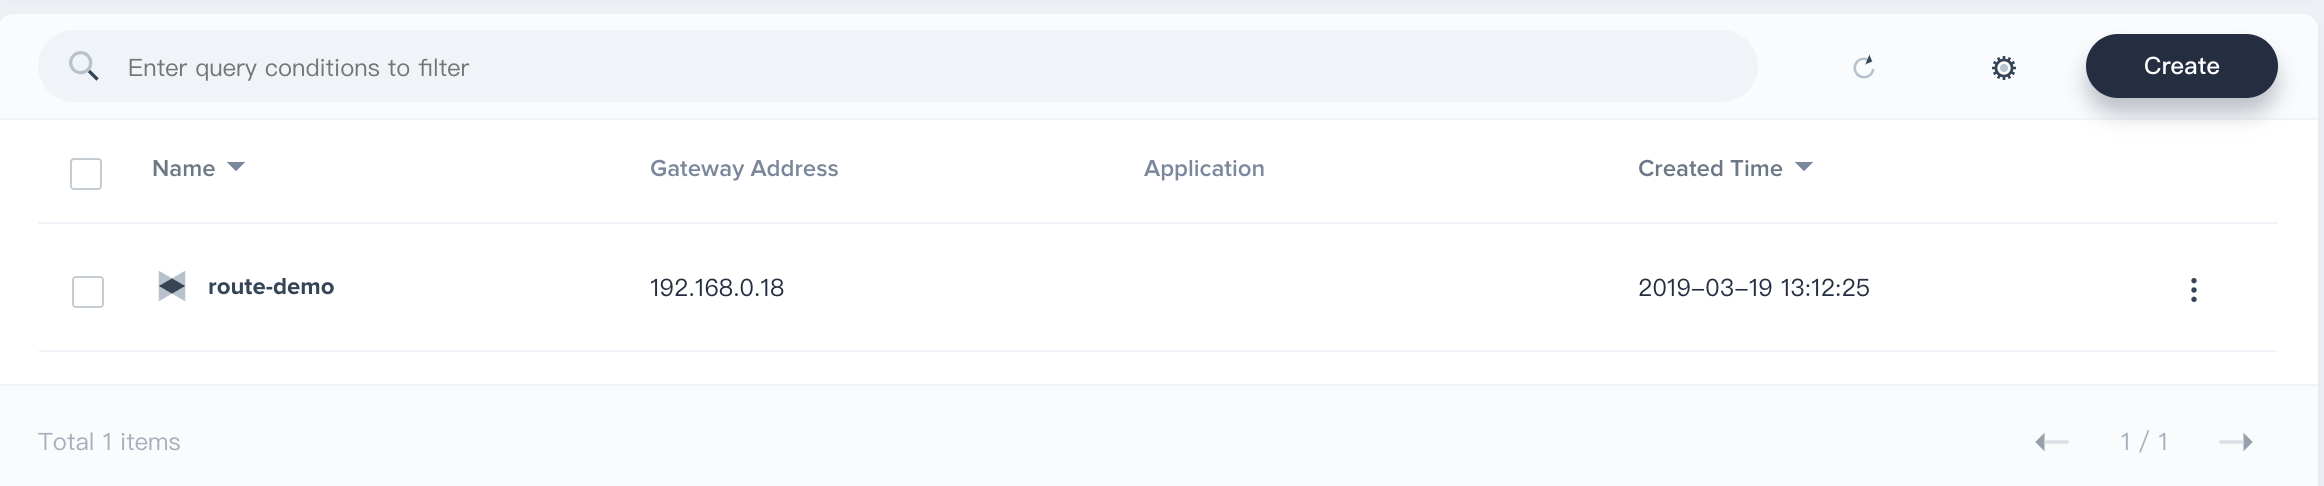
Access the Route
The value defined by the hostname field (e.g. demo.kubesphere.io) is the entry for this route, and when the user accesses demo.kubesphere.io, it's the route that is actually accessed. In this way, KubeSphere can use Route rules to forward your request in the next step.
After the route is created, ensure that the Hostname can be resolved to the IP address of the external network access portal, then the hostname can be accessed. In a private environment, you can use the routes by adding the record in /etc/hosts file in local.
See an example as following table:
| Hostname | Paths | Access Method | Port/EIP | Node IP |
|---|---|---|---|---|
| demo.kubesphere.io | / | NodePort | 32586,31920 | 192.168.0.4,192.168.0.3,192.168.0.2 |
| demo2.kubesphere.io | / | LoadBalancer | 139.198.121.154 | 192.168.0.4,192.168.0.3,192.168.0.2 |
In the above table, it created two kind of routes using the access NodePort and LoadBalancer methods respectively.
NodePort
For the NodePort, if it‘s in a private environment, we can directly add a record to the hosts file to resolve the hostname to the corresponding IP. For example, for demo.kubesphere.io, we add the following record in /etc/hosts:
192.168.0.4 demo.kubesphere.ioNote: The IP address can also use the EIP if you need to expose the route outside.
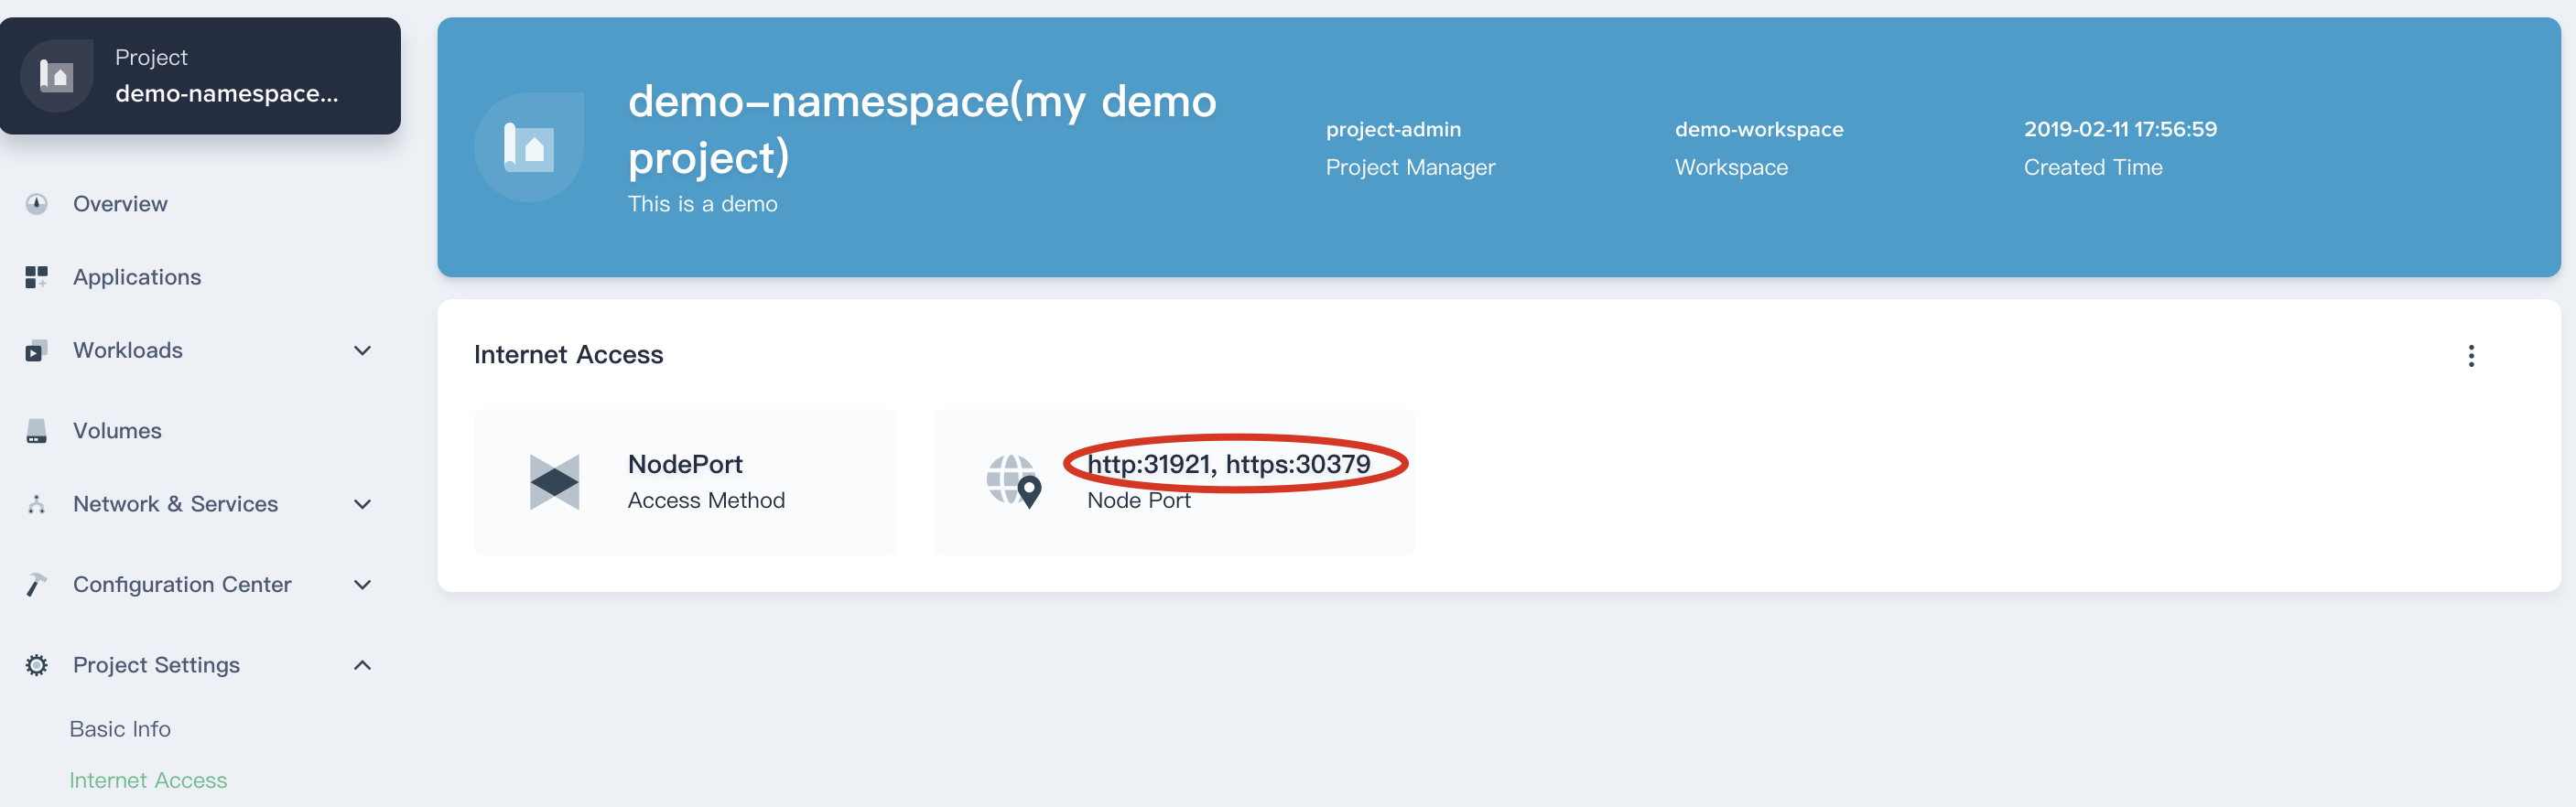
Next, you need to set up a Gateway under Internet Access. Follow with the steps as the screenshot.

Click Save to generate two kind of node port, i.e. http and https.

You need to ensure that the network between the client and the node(192.168.0.4) is interlinked, then you can access the route via http://demo.kubesphere.io:31921 (It uses the port 31921 with http protocol as an example).
LoadBalancer
If the Internet access is set to LoadBalancer, for demo2.kubesphere.io, you can also use nip.io as the domain name resolution of the route. Nip.io is a free domain resolution service that can resolve the IP corresponding to the hostname in the following format, which can be used as a route resolution service, eliminating to configure the /etc/hosts file in local.
Configuration Format
10.0.0.1.nip.io maps to 10.0.0.1
app.10.0.0.1.nip.io maps to 10.0.0.1
customer1.app.10.0.0.1.nip.io maps to 10.0.0.1
customer2.app.10.0.0.1.nip.io maps to 10.0.0.1
otherapp.10.0.0.1.nip.io maps to 10.0.0.1
For example, the EIP of the cluster is 139.198.121.154. Thus the Hostname field is filled in as demo2.kubesphere.139.198.121.154.nip.io in the rule, and the others keep the original settings.
Once created, use http://demo2.kubesphere.139.198.121.154.nip.io to access the corresponding service.